- Written by Signy Biarnardottir
Distaff, n. a stick or spindle onto which wool or flax is wound for spinning.
I have been spinning for many, many years. Holding the fiber supply in the hand can cause several issues:
- heat and moisture from the hand can cause the fiber to felt
- the fiber may draft unevenly due to hand shape
- new fiber must often be joined from a larger supply carried separately
- the unspun fiber may separate from the yarn already on the spindle when laid down
A distaff can be used to solve these issues. It acts a third (and sometimes fourth) hand to manage the unspun fiber supply during spinning. Better yet, it can hold many times the fiber volume of a hand, doesn't sweat, and keeps everything together neatly.
While it is fairly easy to find tutorials, books, and teachers who can teach spinning, it is much more difficult to find instructions demonstrating how to dress a distaff with wool. (Flax is attached completely differently.) After several years of searching, I had the opportunity to take a "How to spin with a distaff" class at Pennsic. The distaff pictured in this tutorial is from that class.
First, gather your supplies:
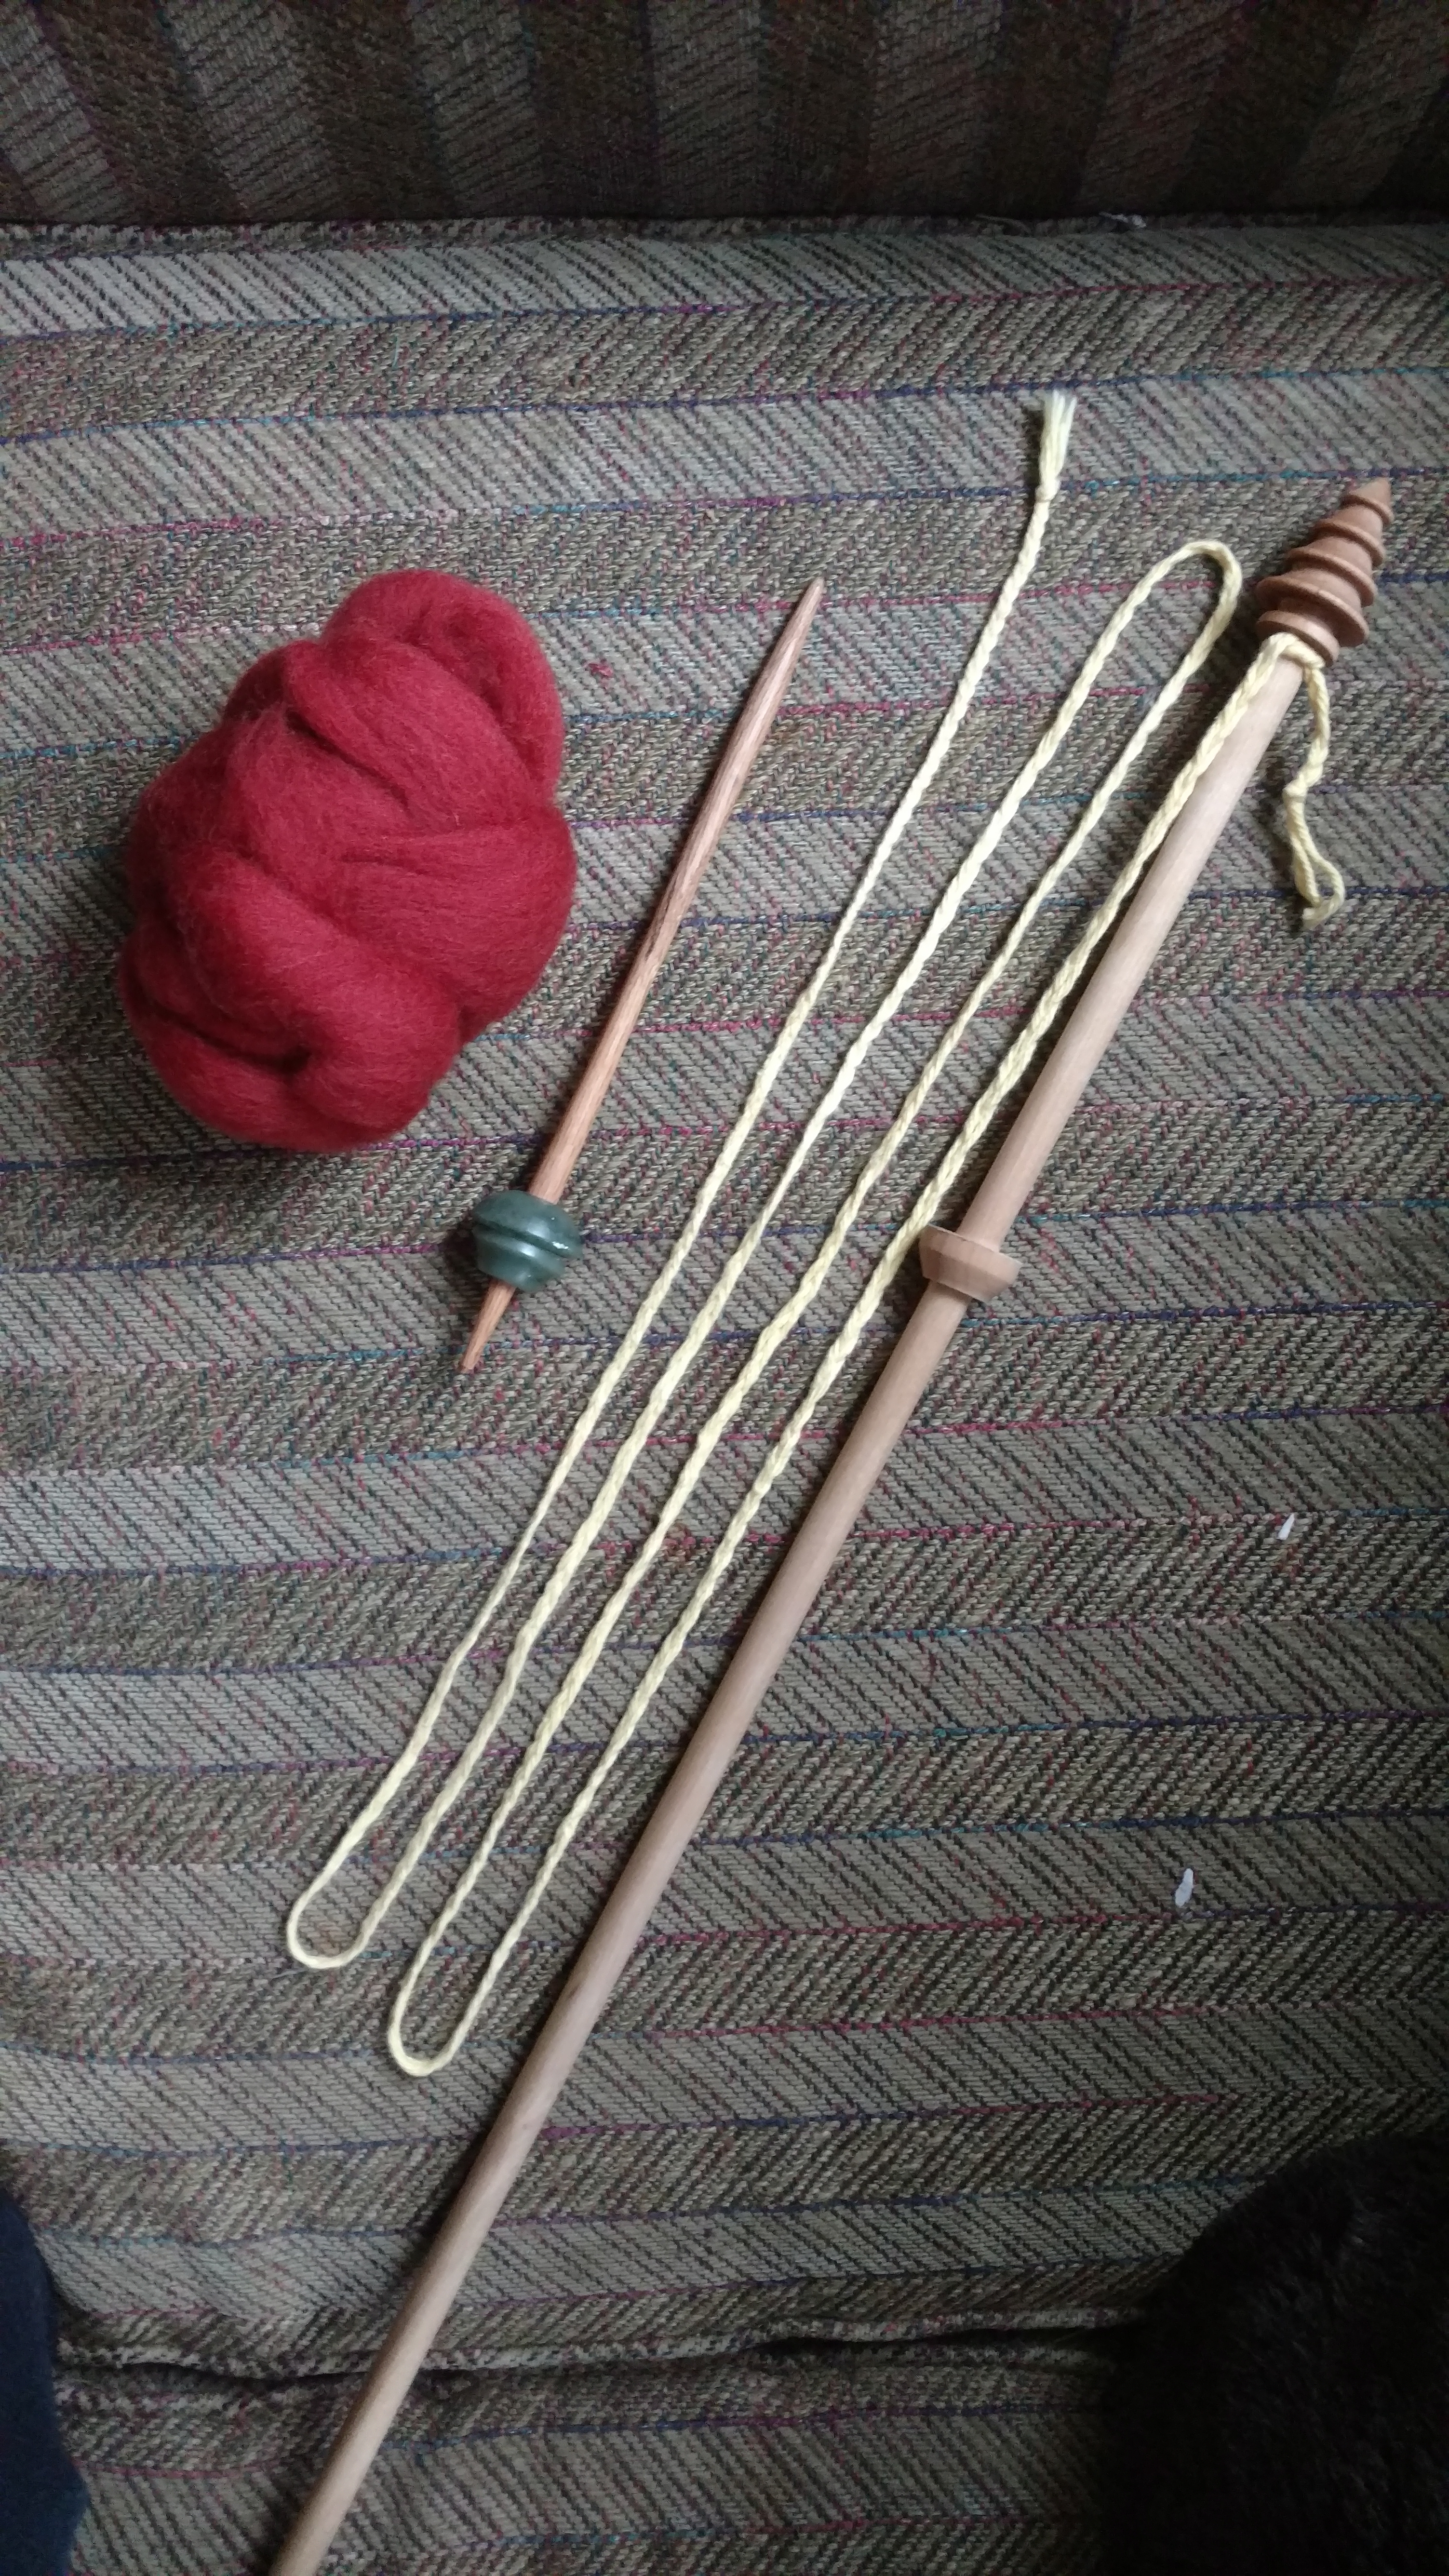
- Fiber prepared for spinning - commercially prepared wool top is shown here
- Drop spindle
- Belt distaff, with cord/braid/narrow tape
Wait, wait - belt distaff?
There are many types of distaff. A belt distaff is carried and used tucked through the spinner's belt. Mine is three feet long and has a six-foot long braid. It is made from a half-inch dowel, with a finial on top and a wooden washer eight inches below the finial.
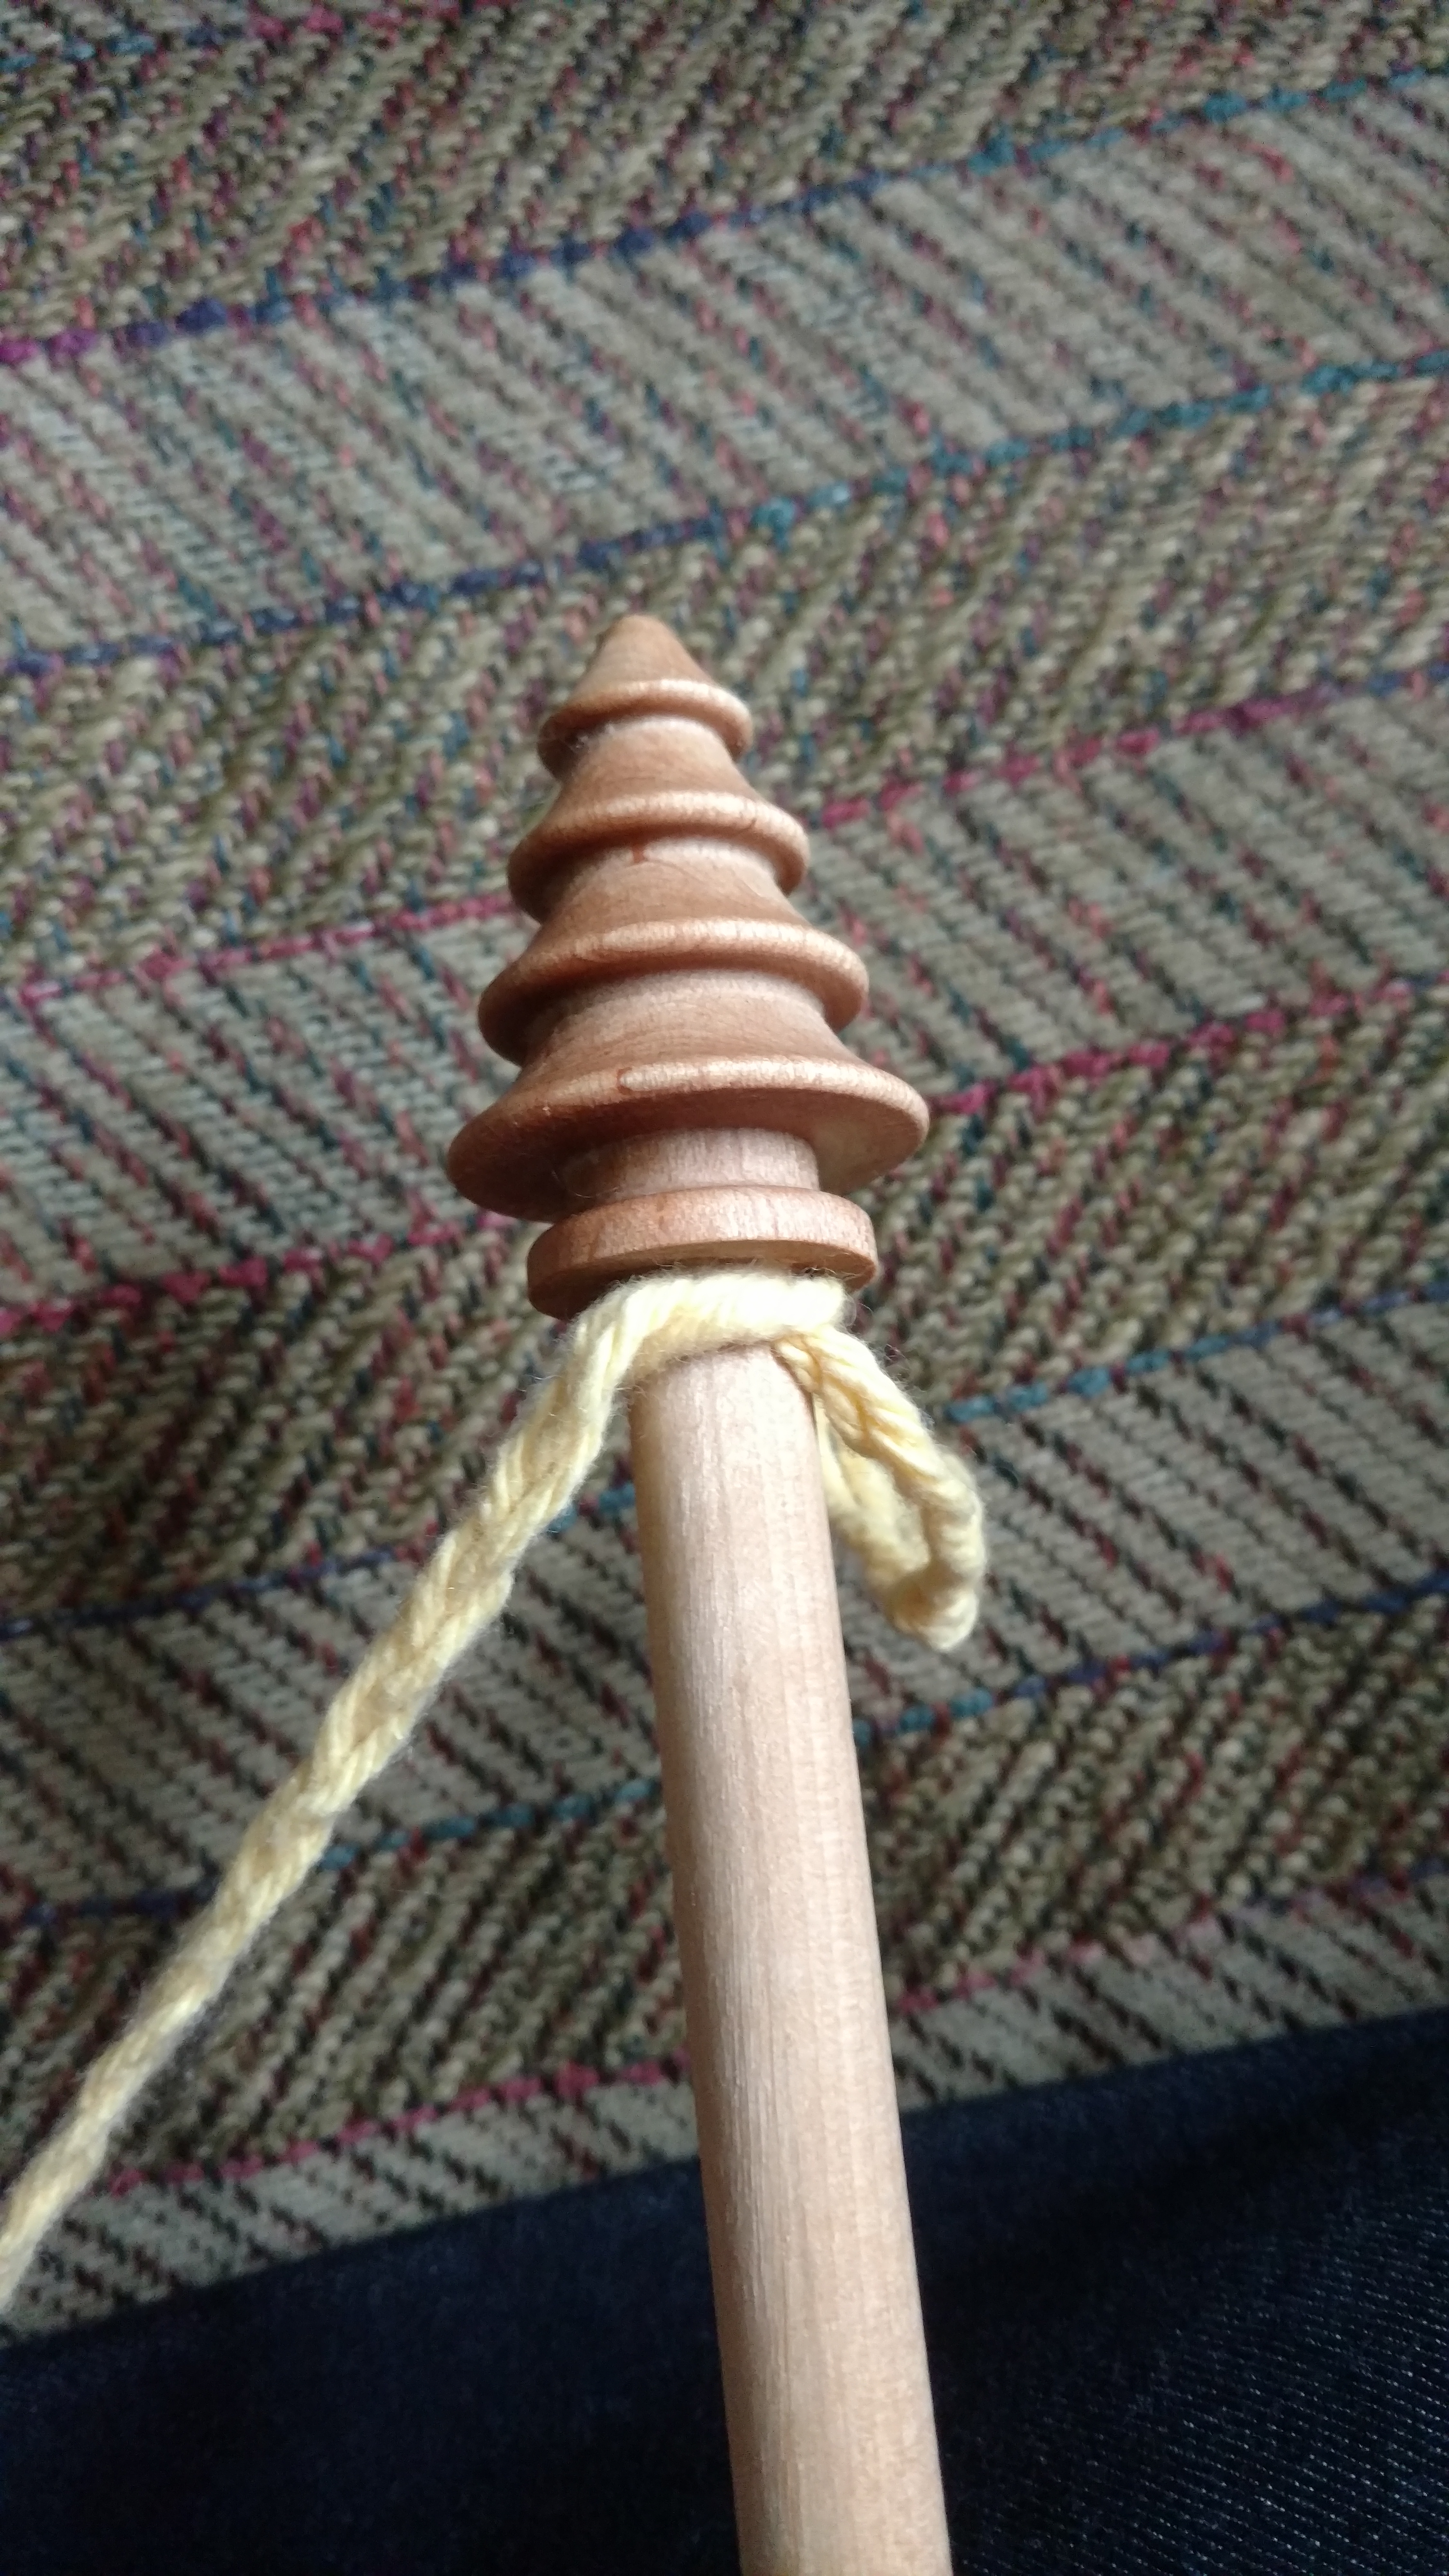
Begin by tying the end of the braid to the distaff, just below the finial:
Next, begin unrolling your fiber. We will be tearing off sections to attach to the distaff. Lay the fiber out along the distaff to determine how long the sections should be:
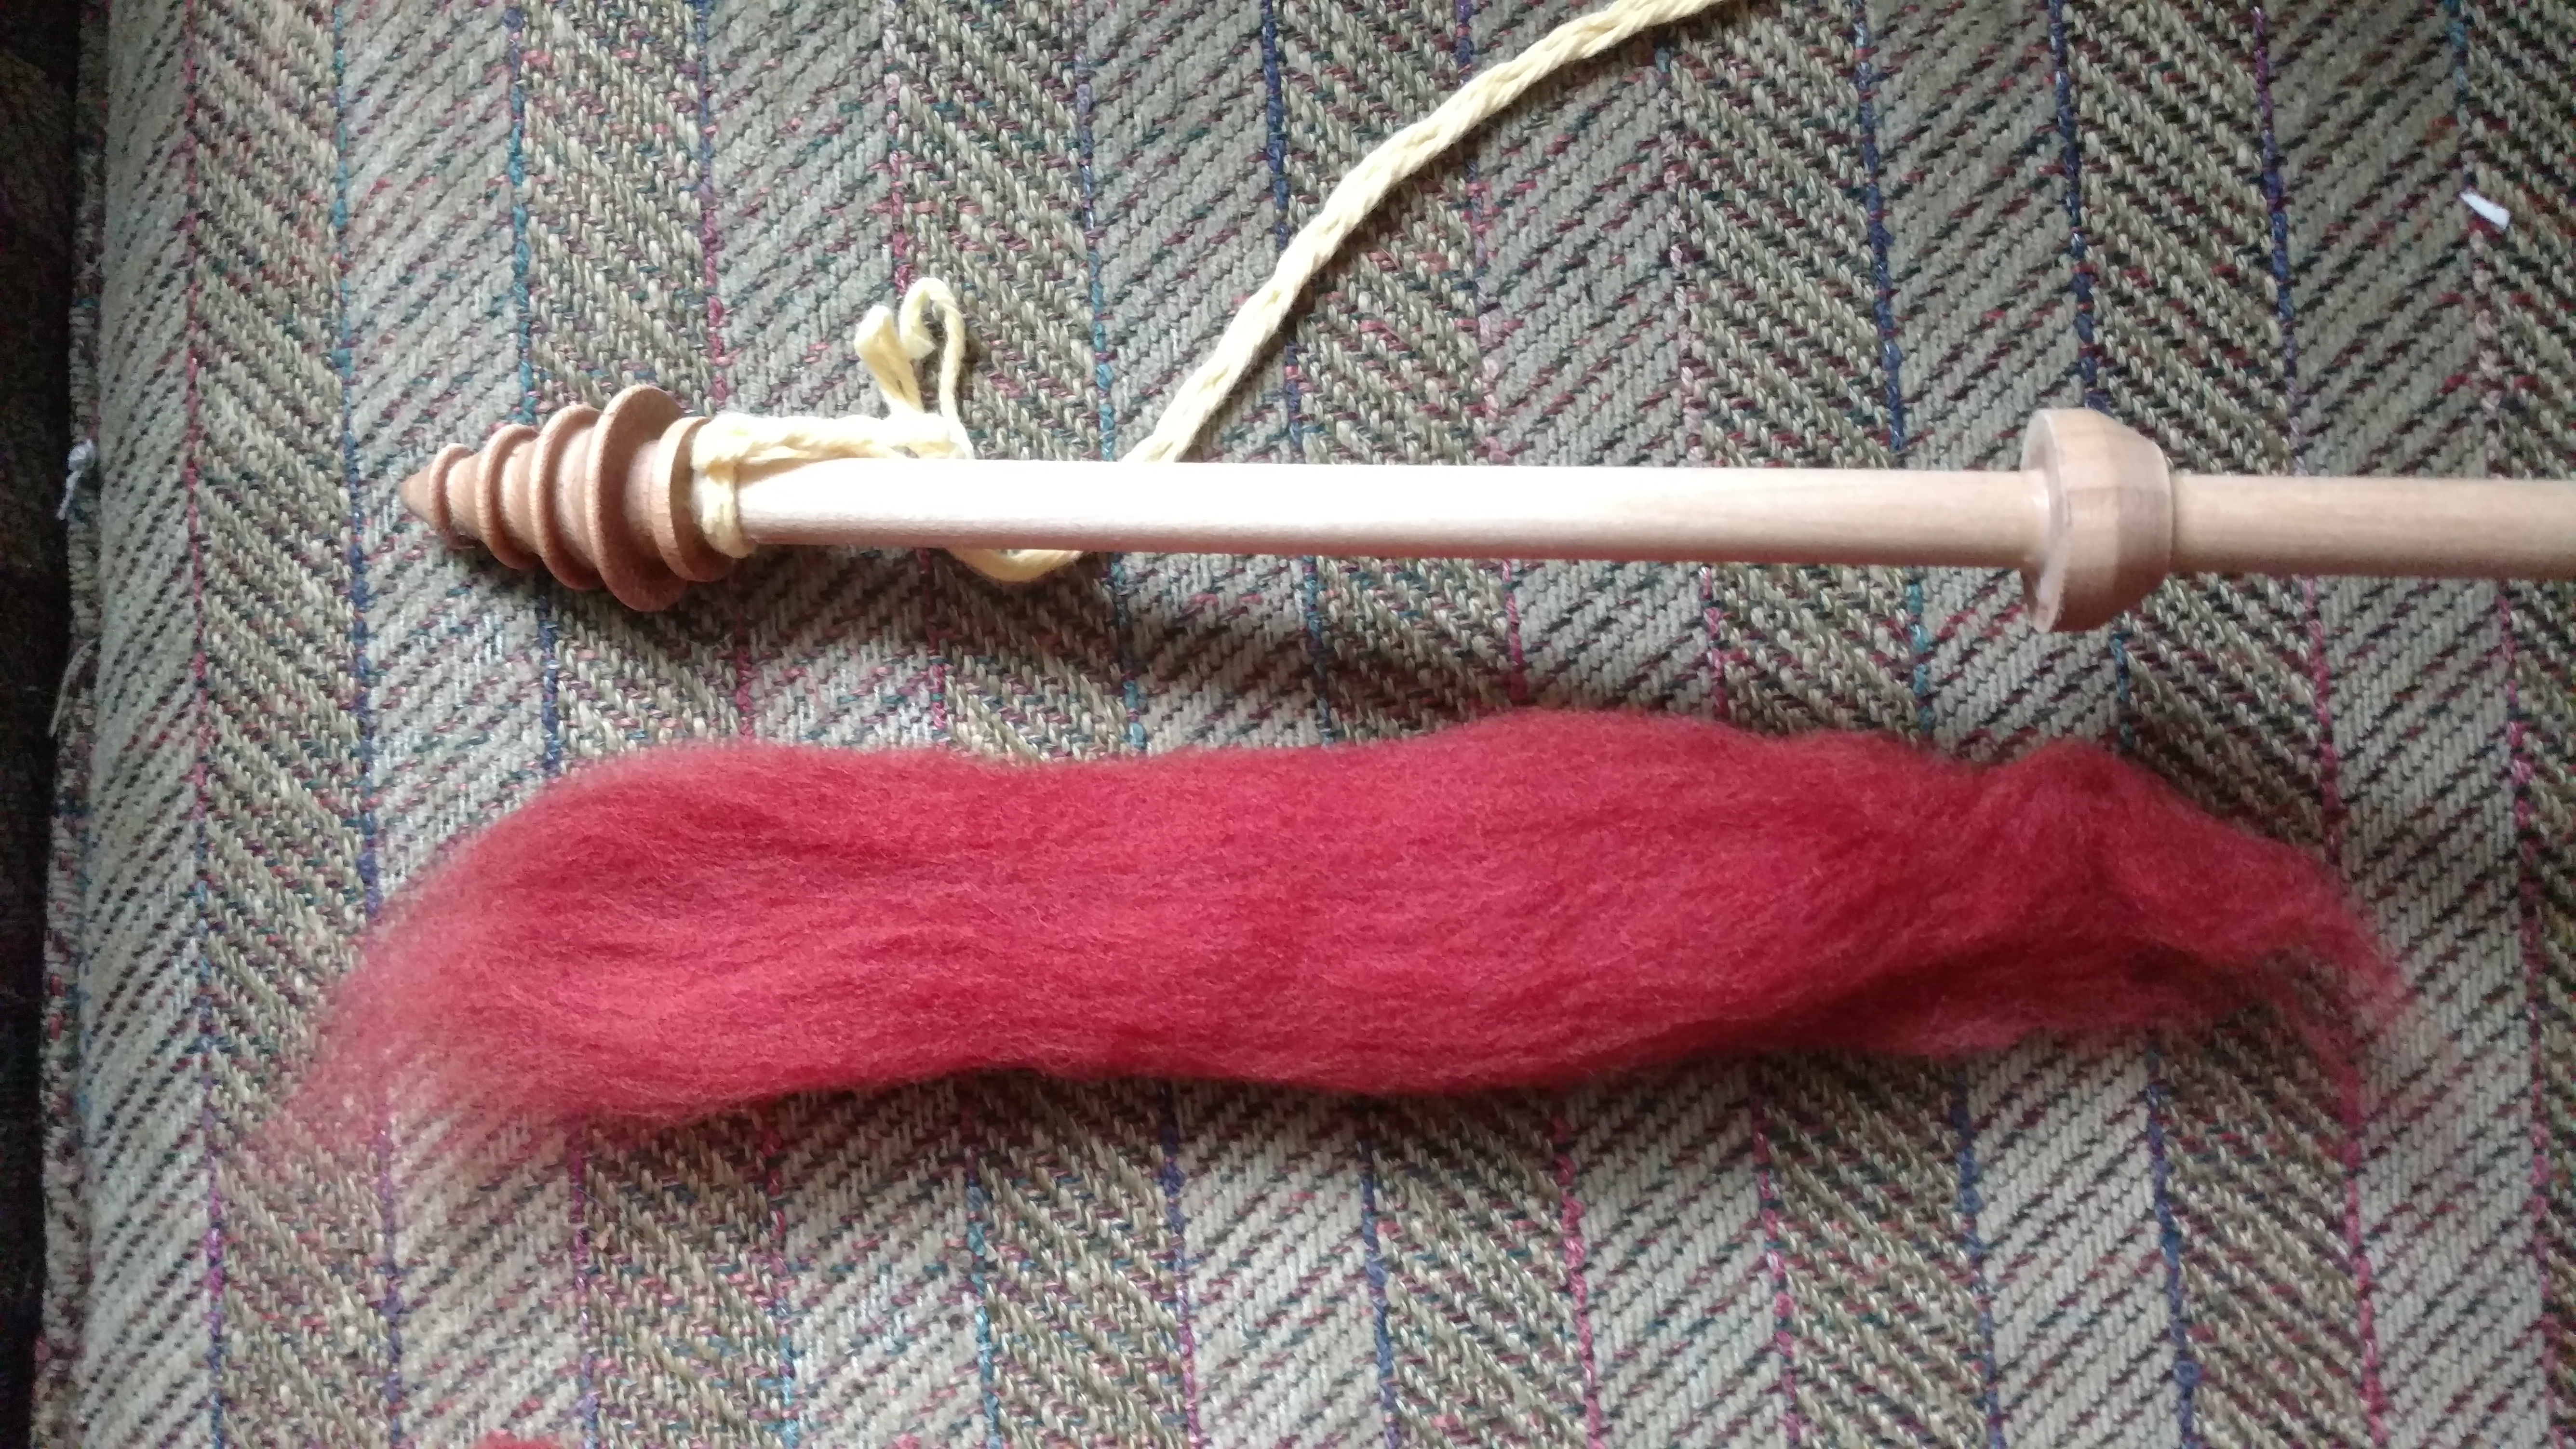
My sections are about two inches longer than the space on the distaff.
Tear off several sections.
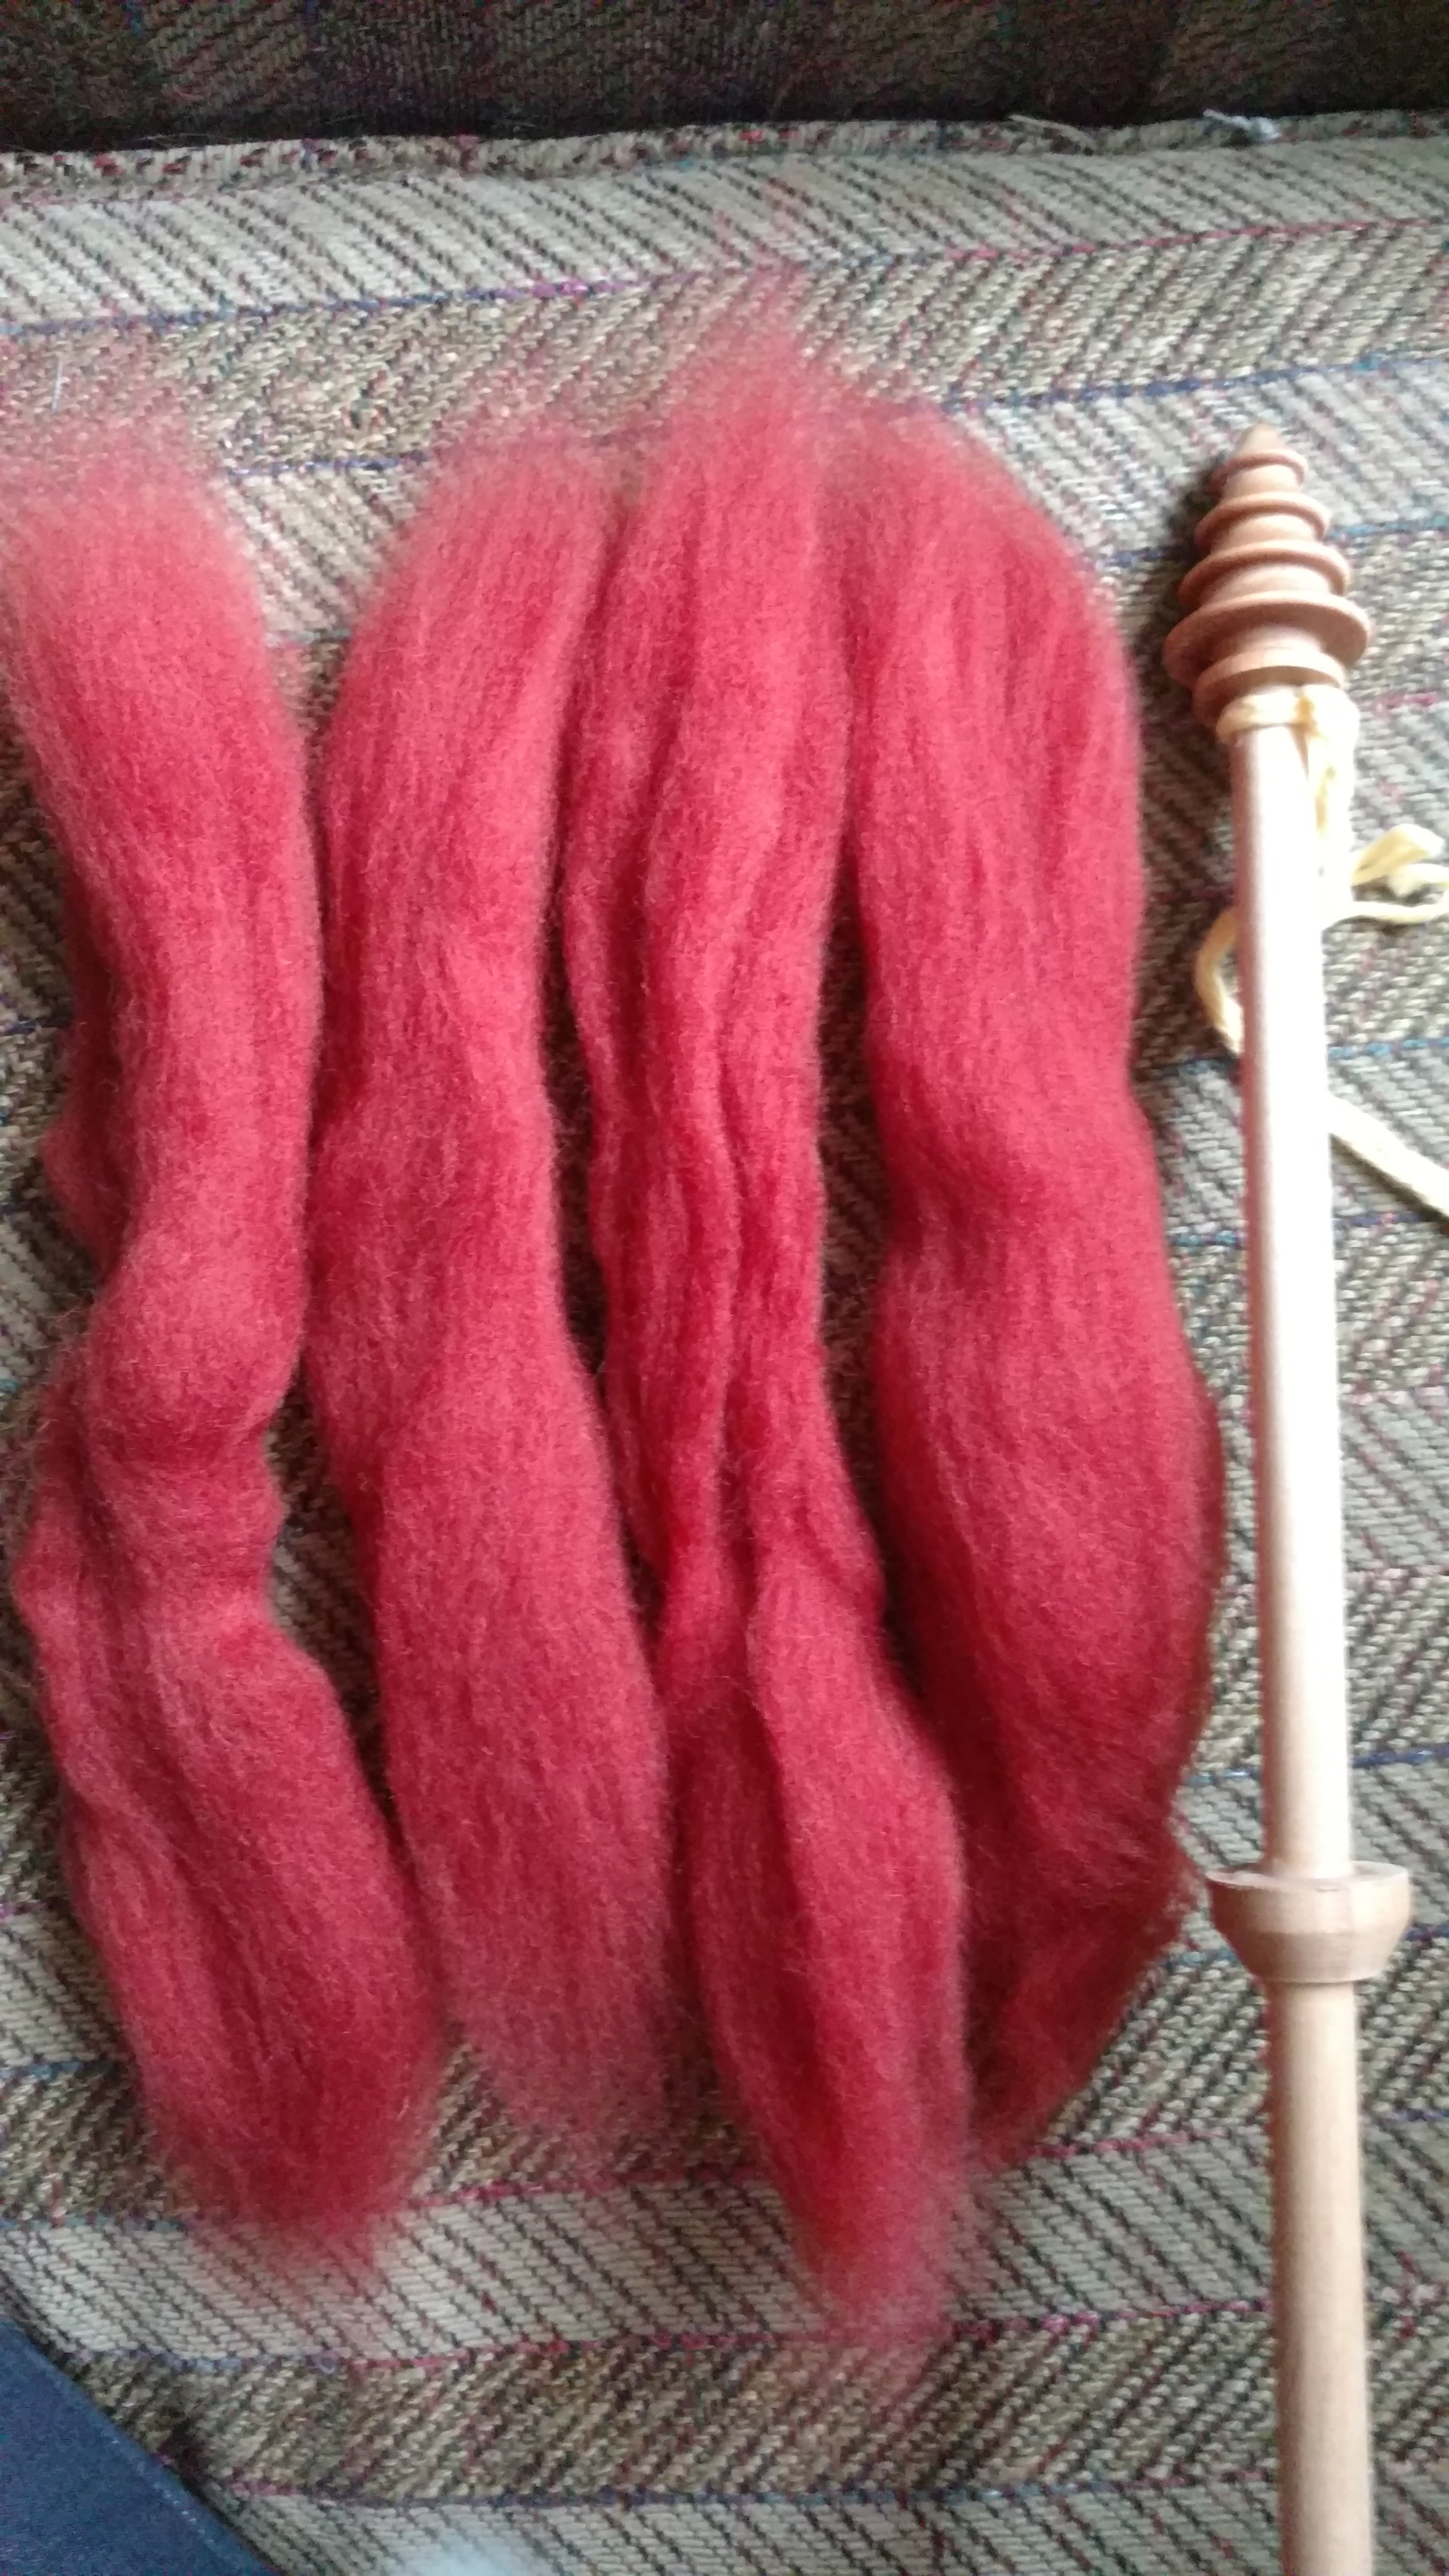
Commercially prepared wool is sometimes folded in half lengthwise. Spot the edge and unfold your sections.
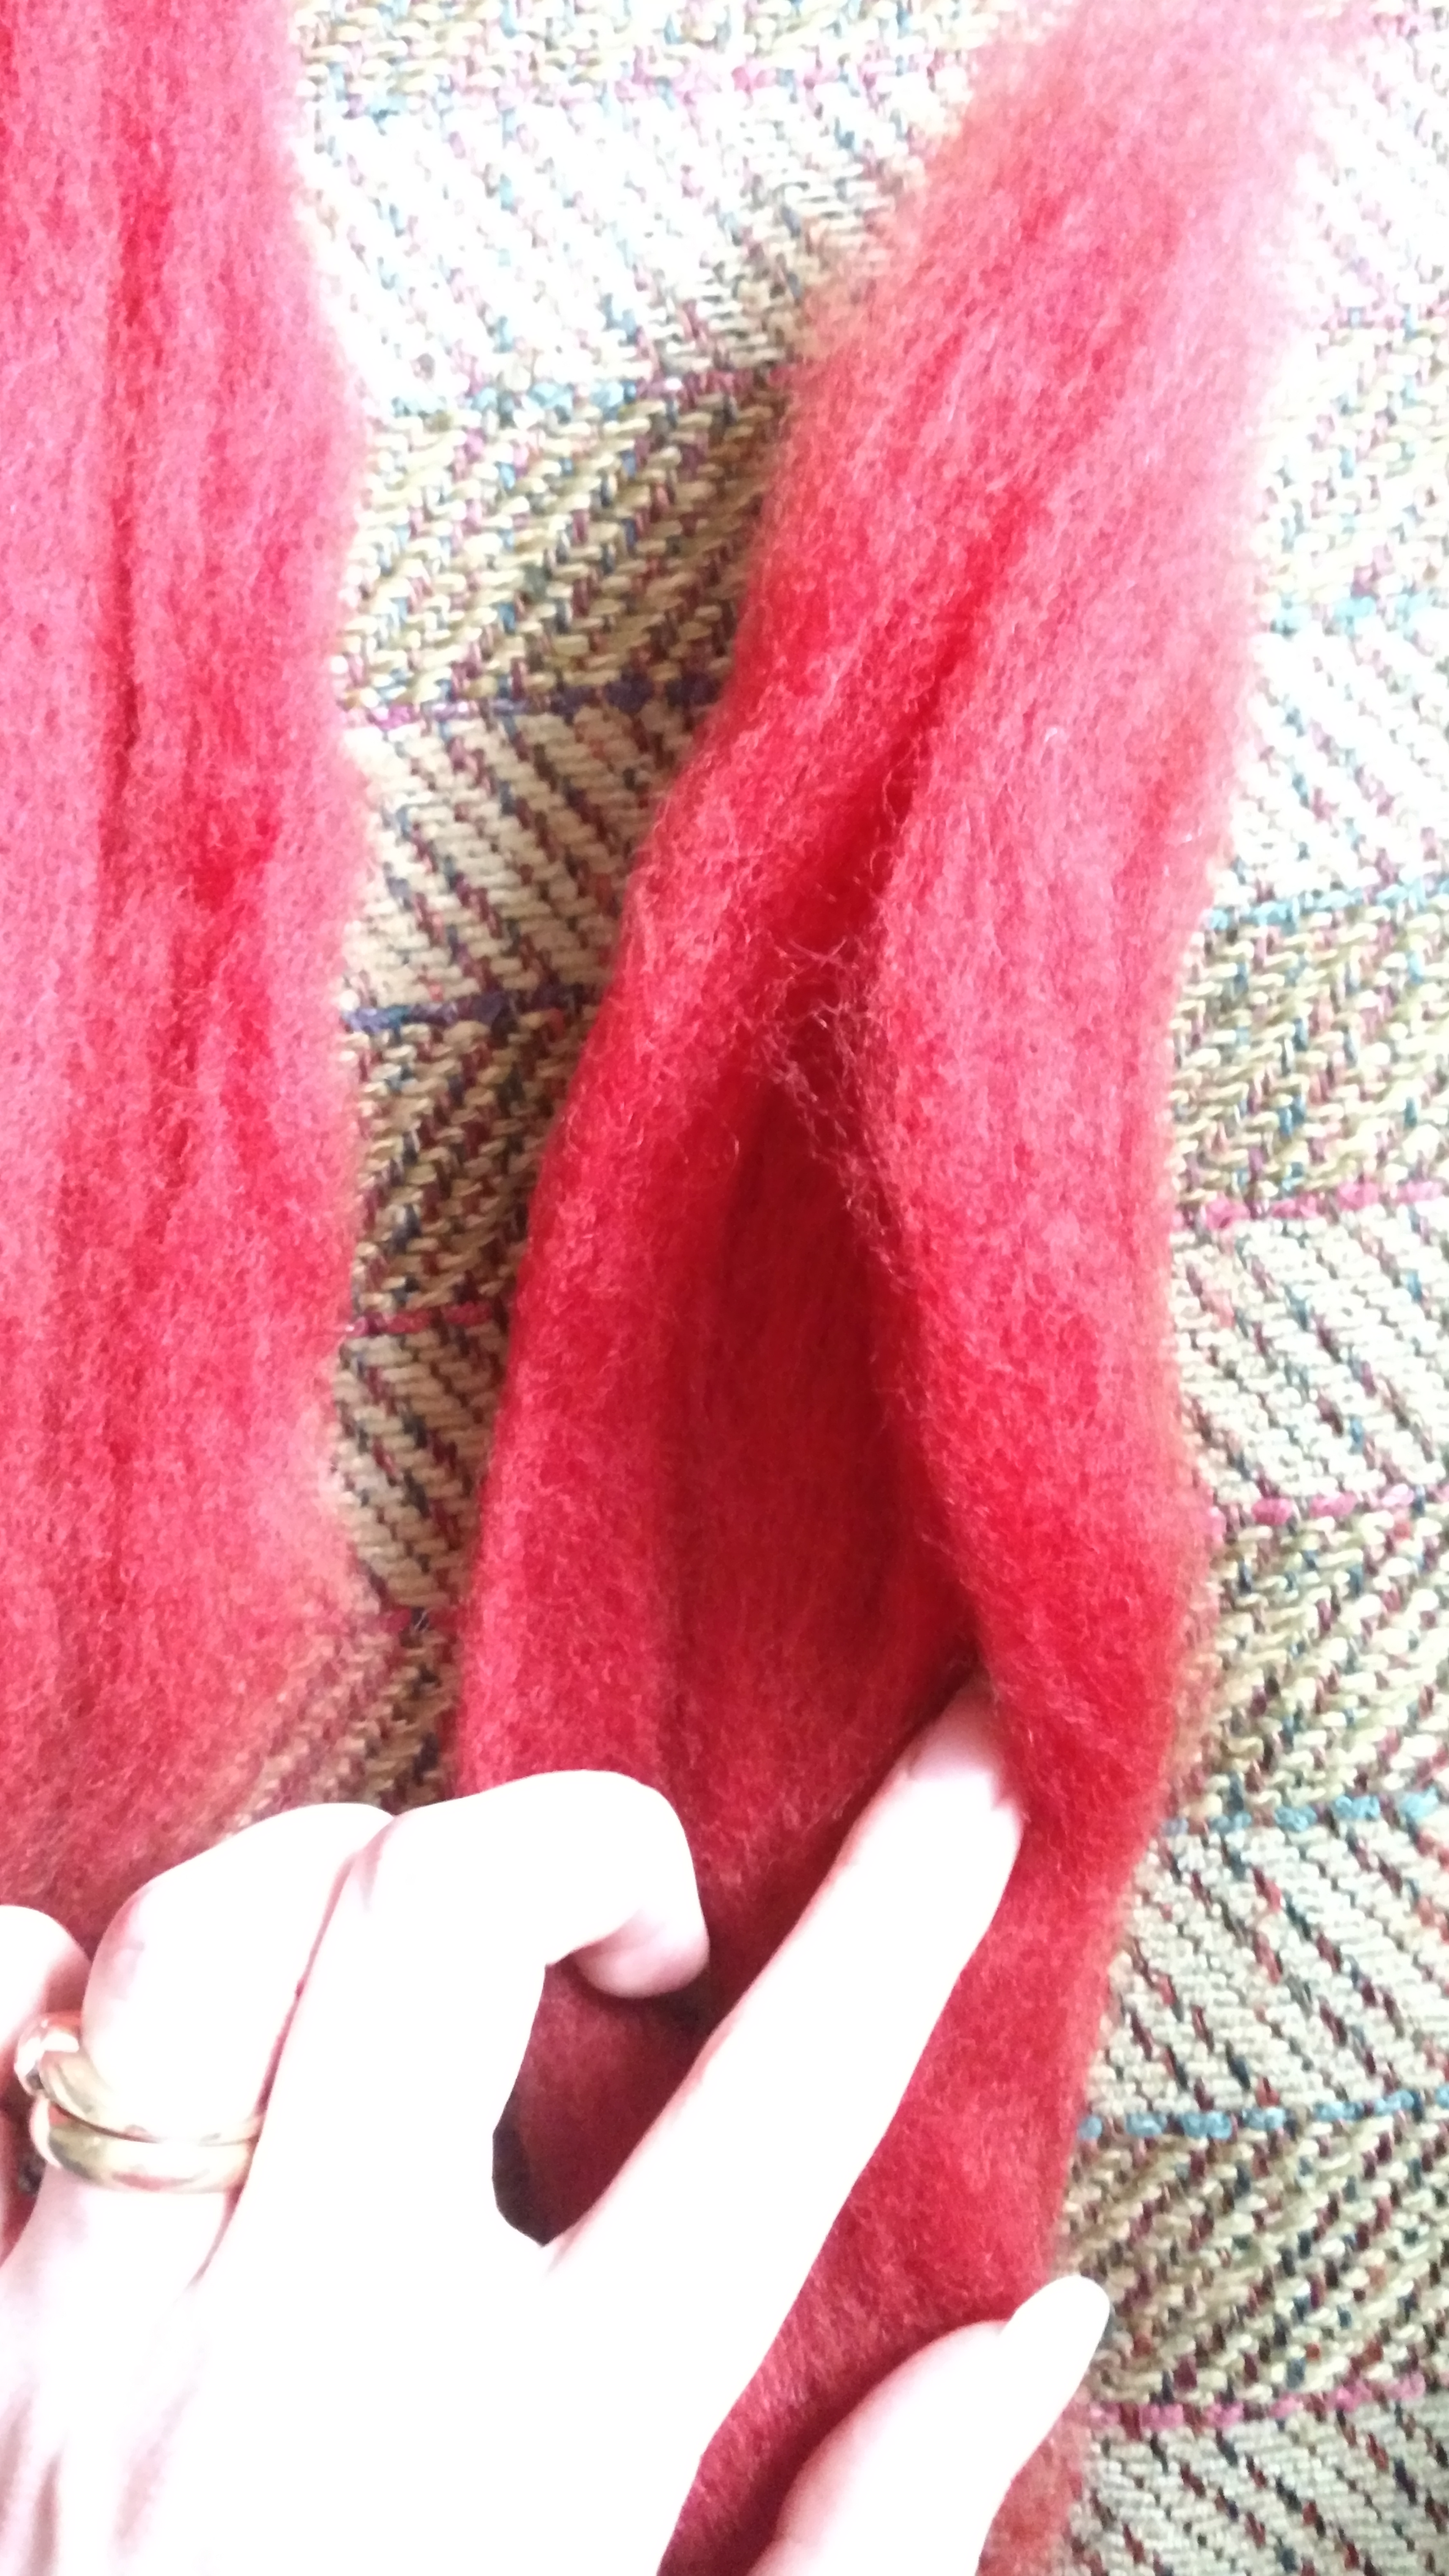
Lay out the first unfolded section and place the distaff on one edge. The braid should be positioned up and out of the way.
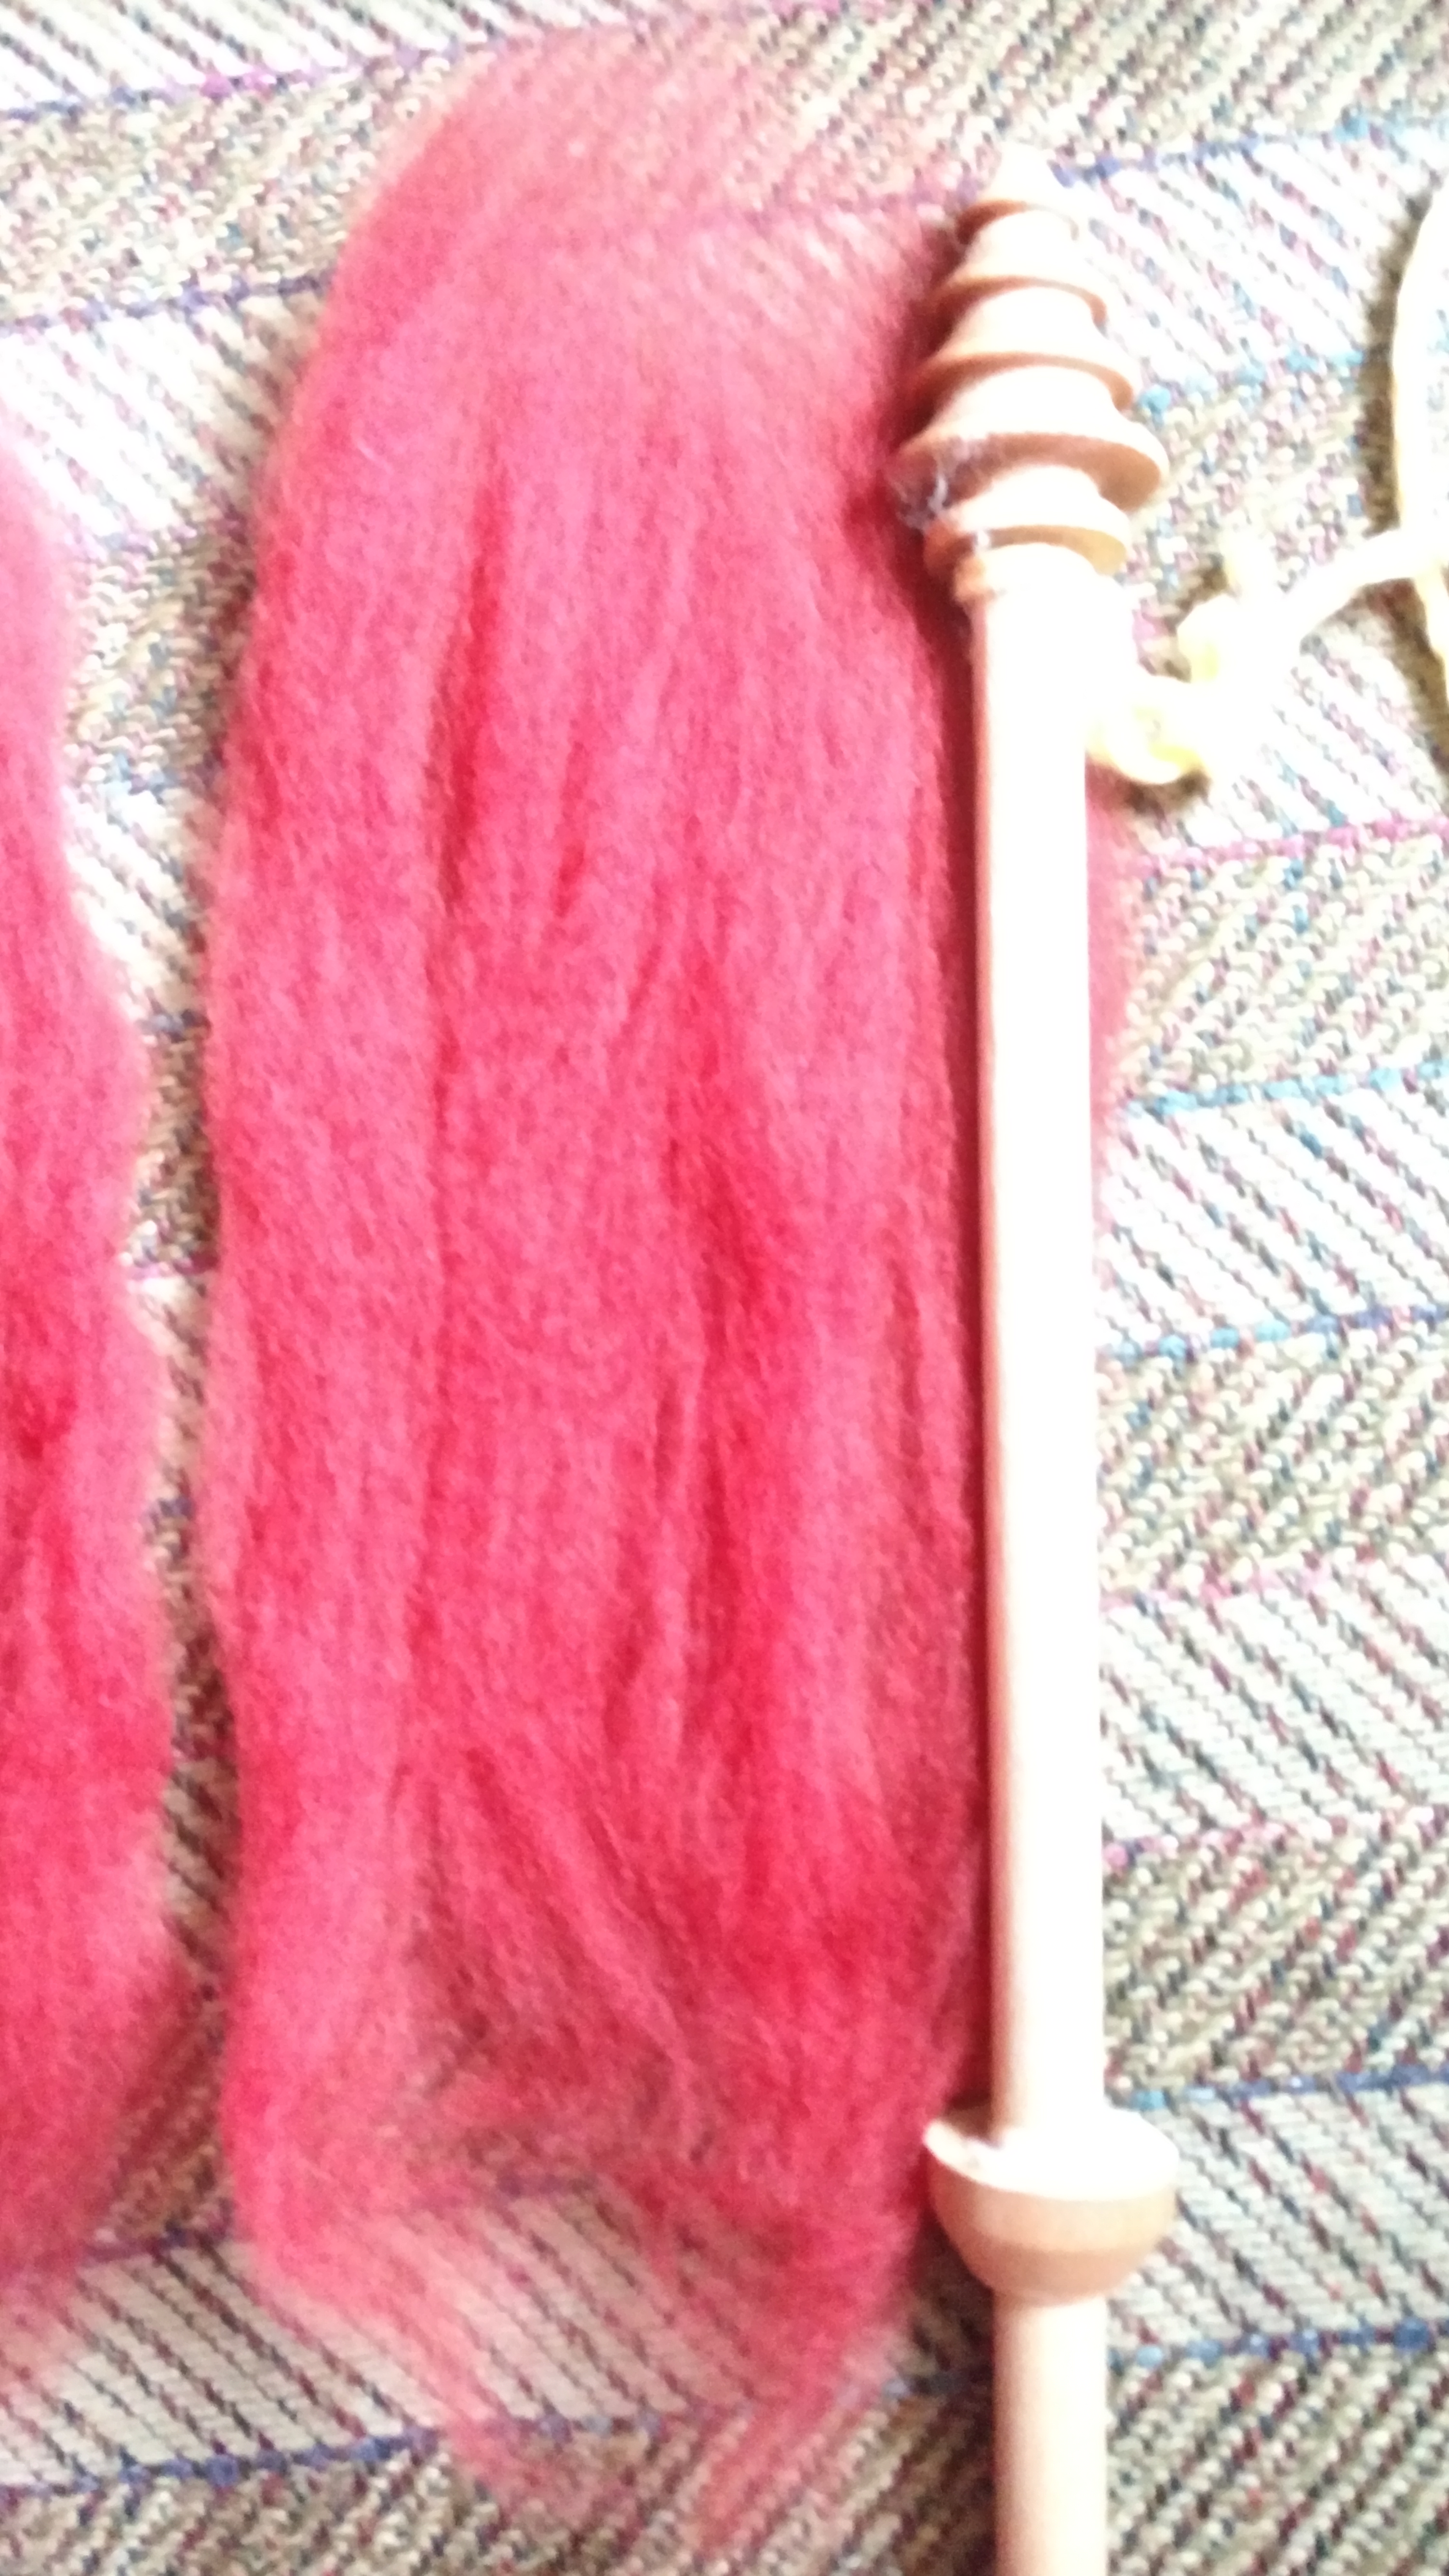
Carefully roll the distaff across the section, using your fingers to lift up the fiber and hold it against the side of the distaff.
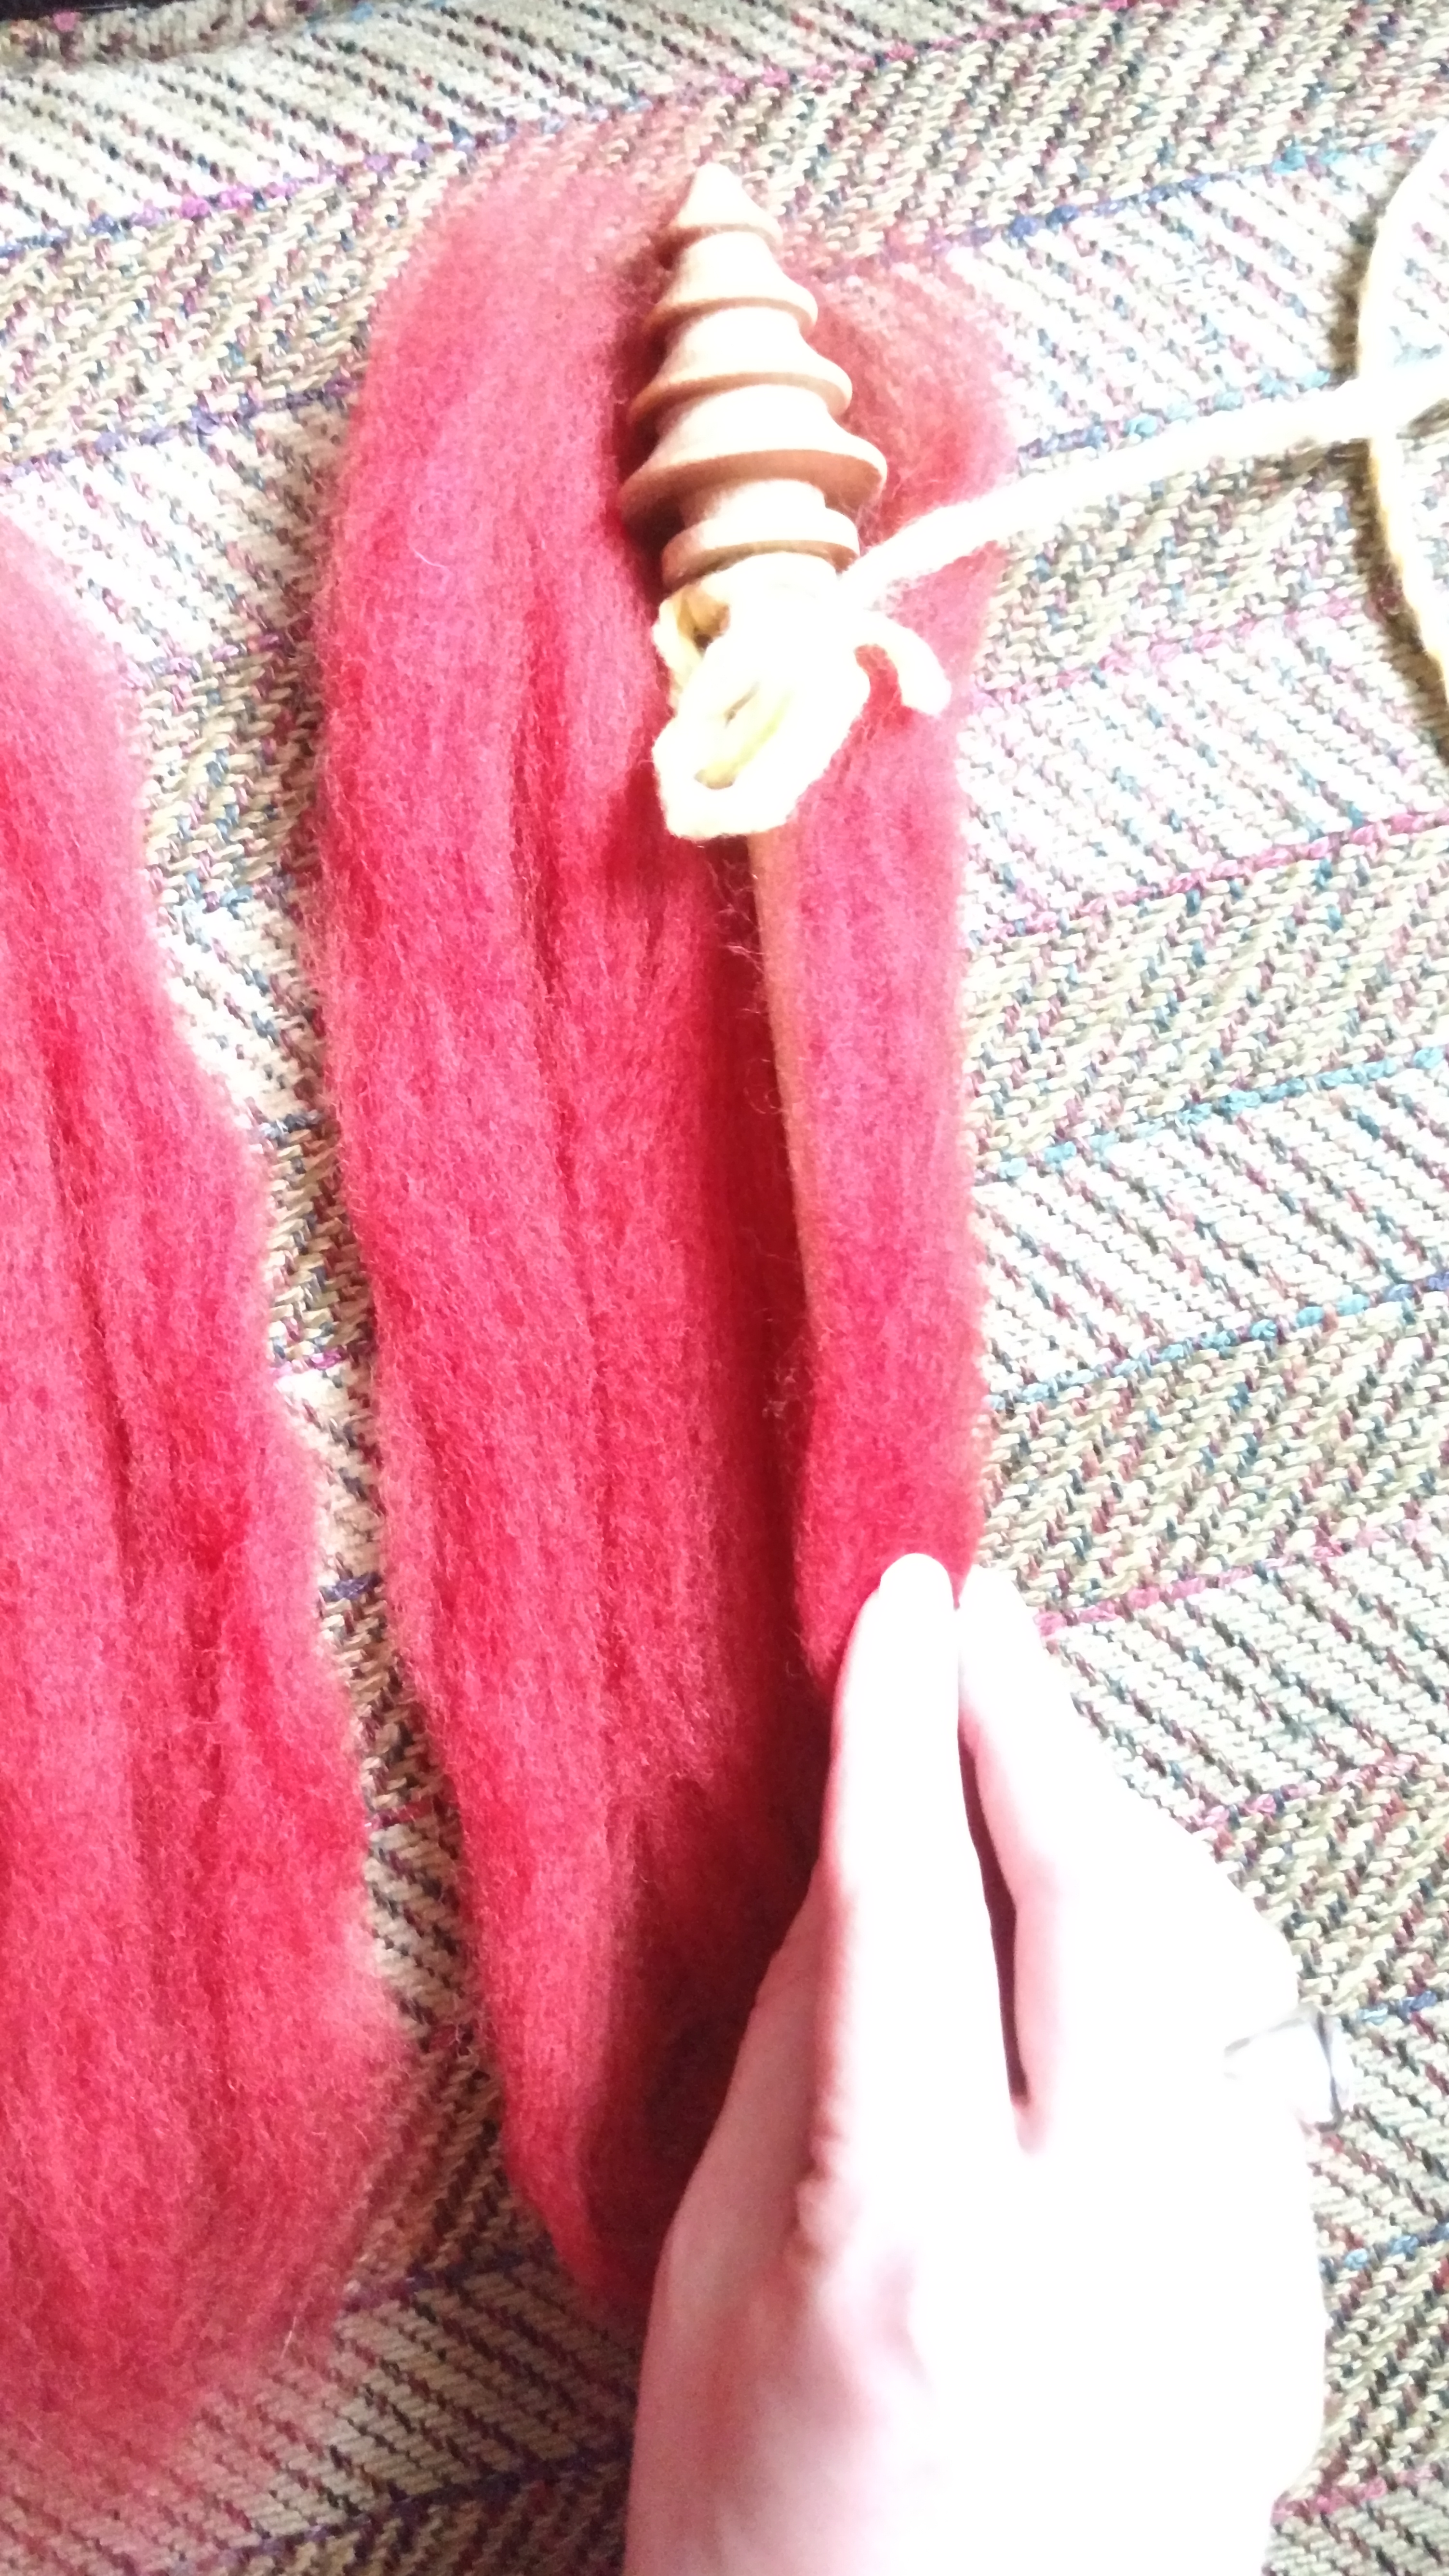
Once you finish the first section, add another and keep going.
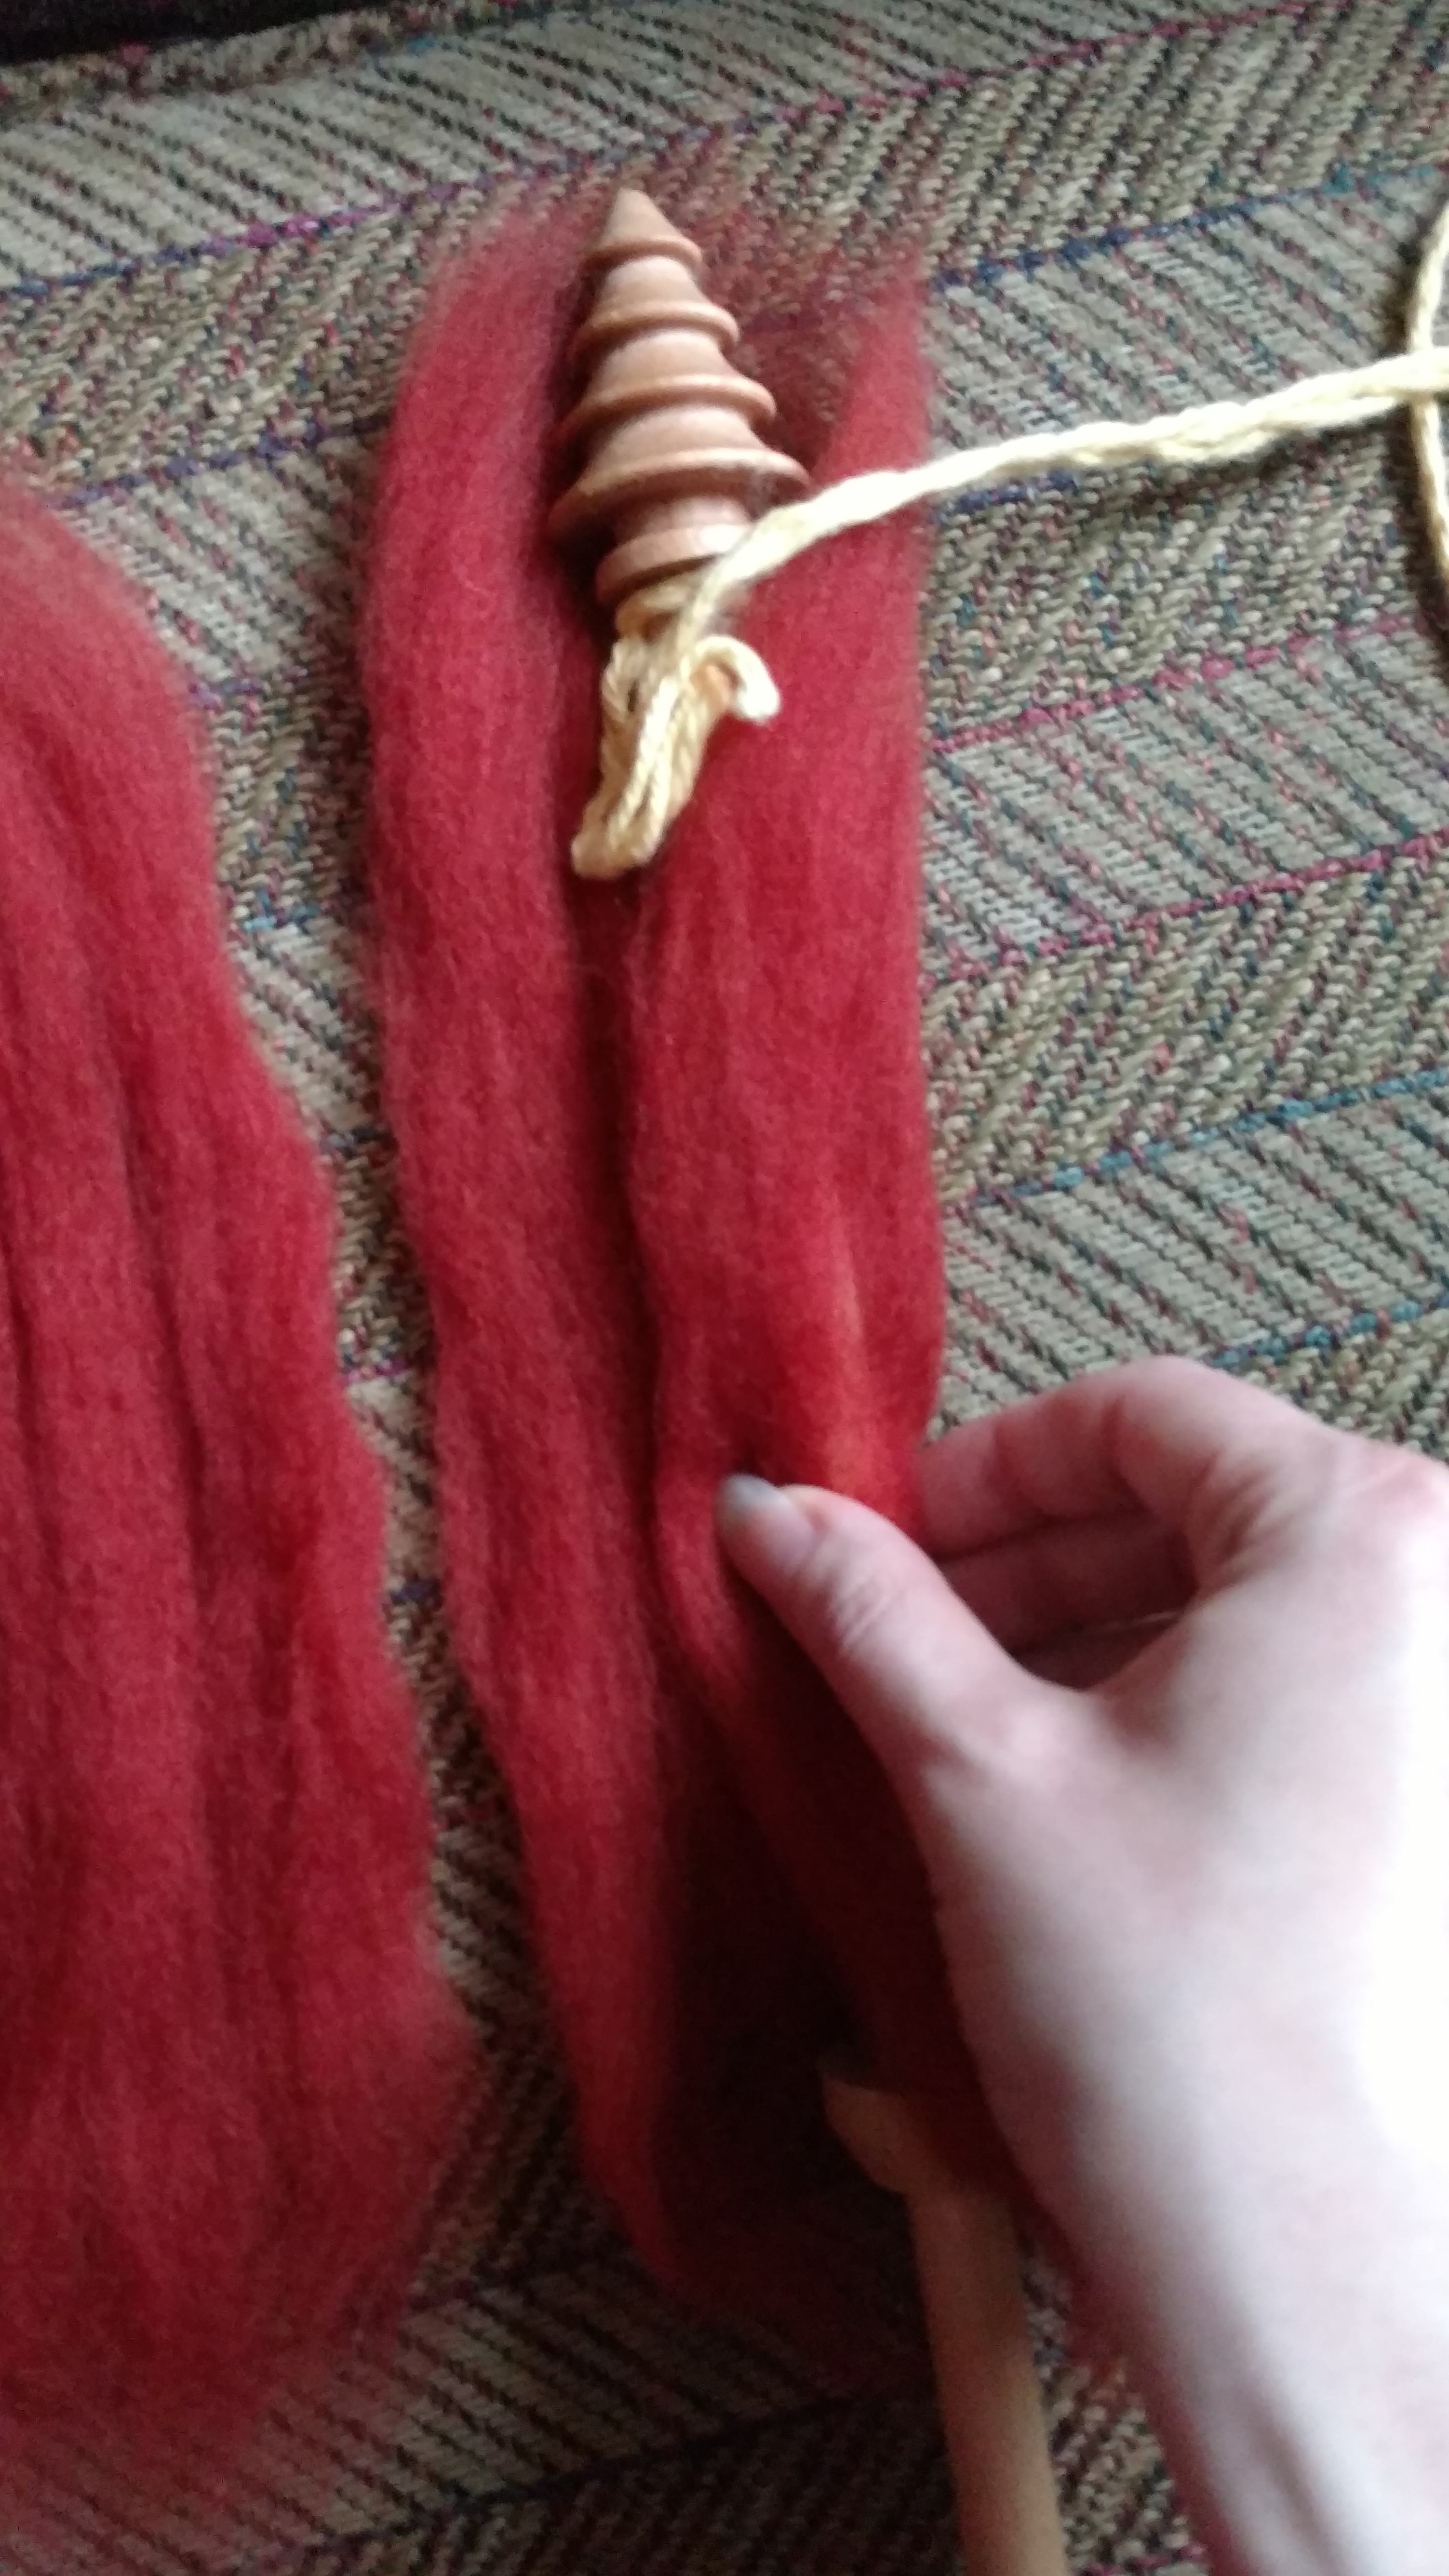
When all the sections have been wrapped around the distaff, it's time to secure them. Hold the fiber in place at the top with one hand.
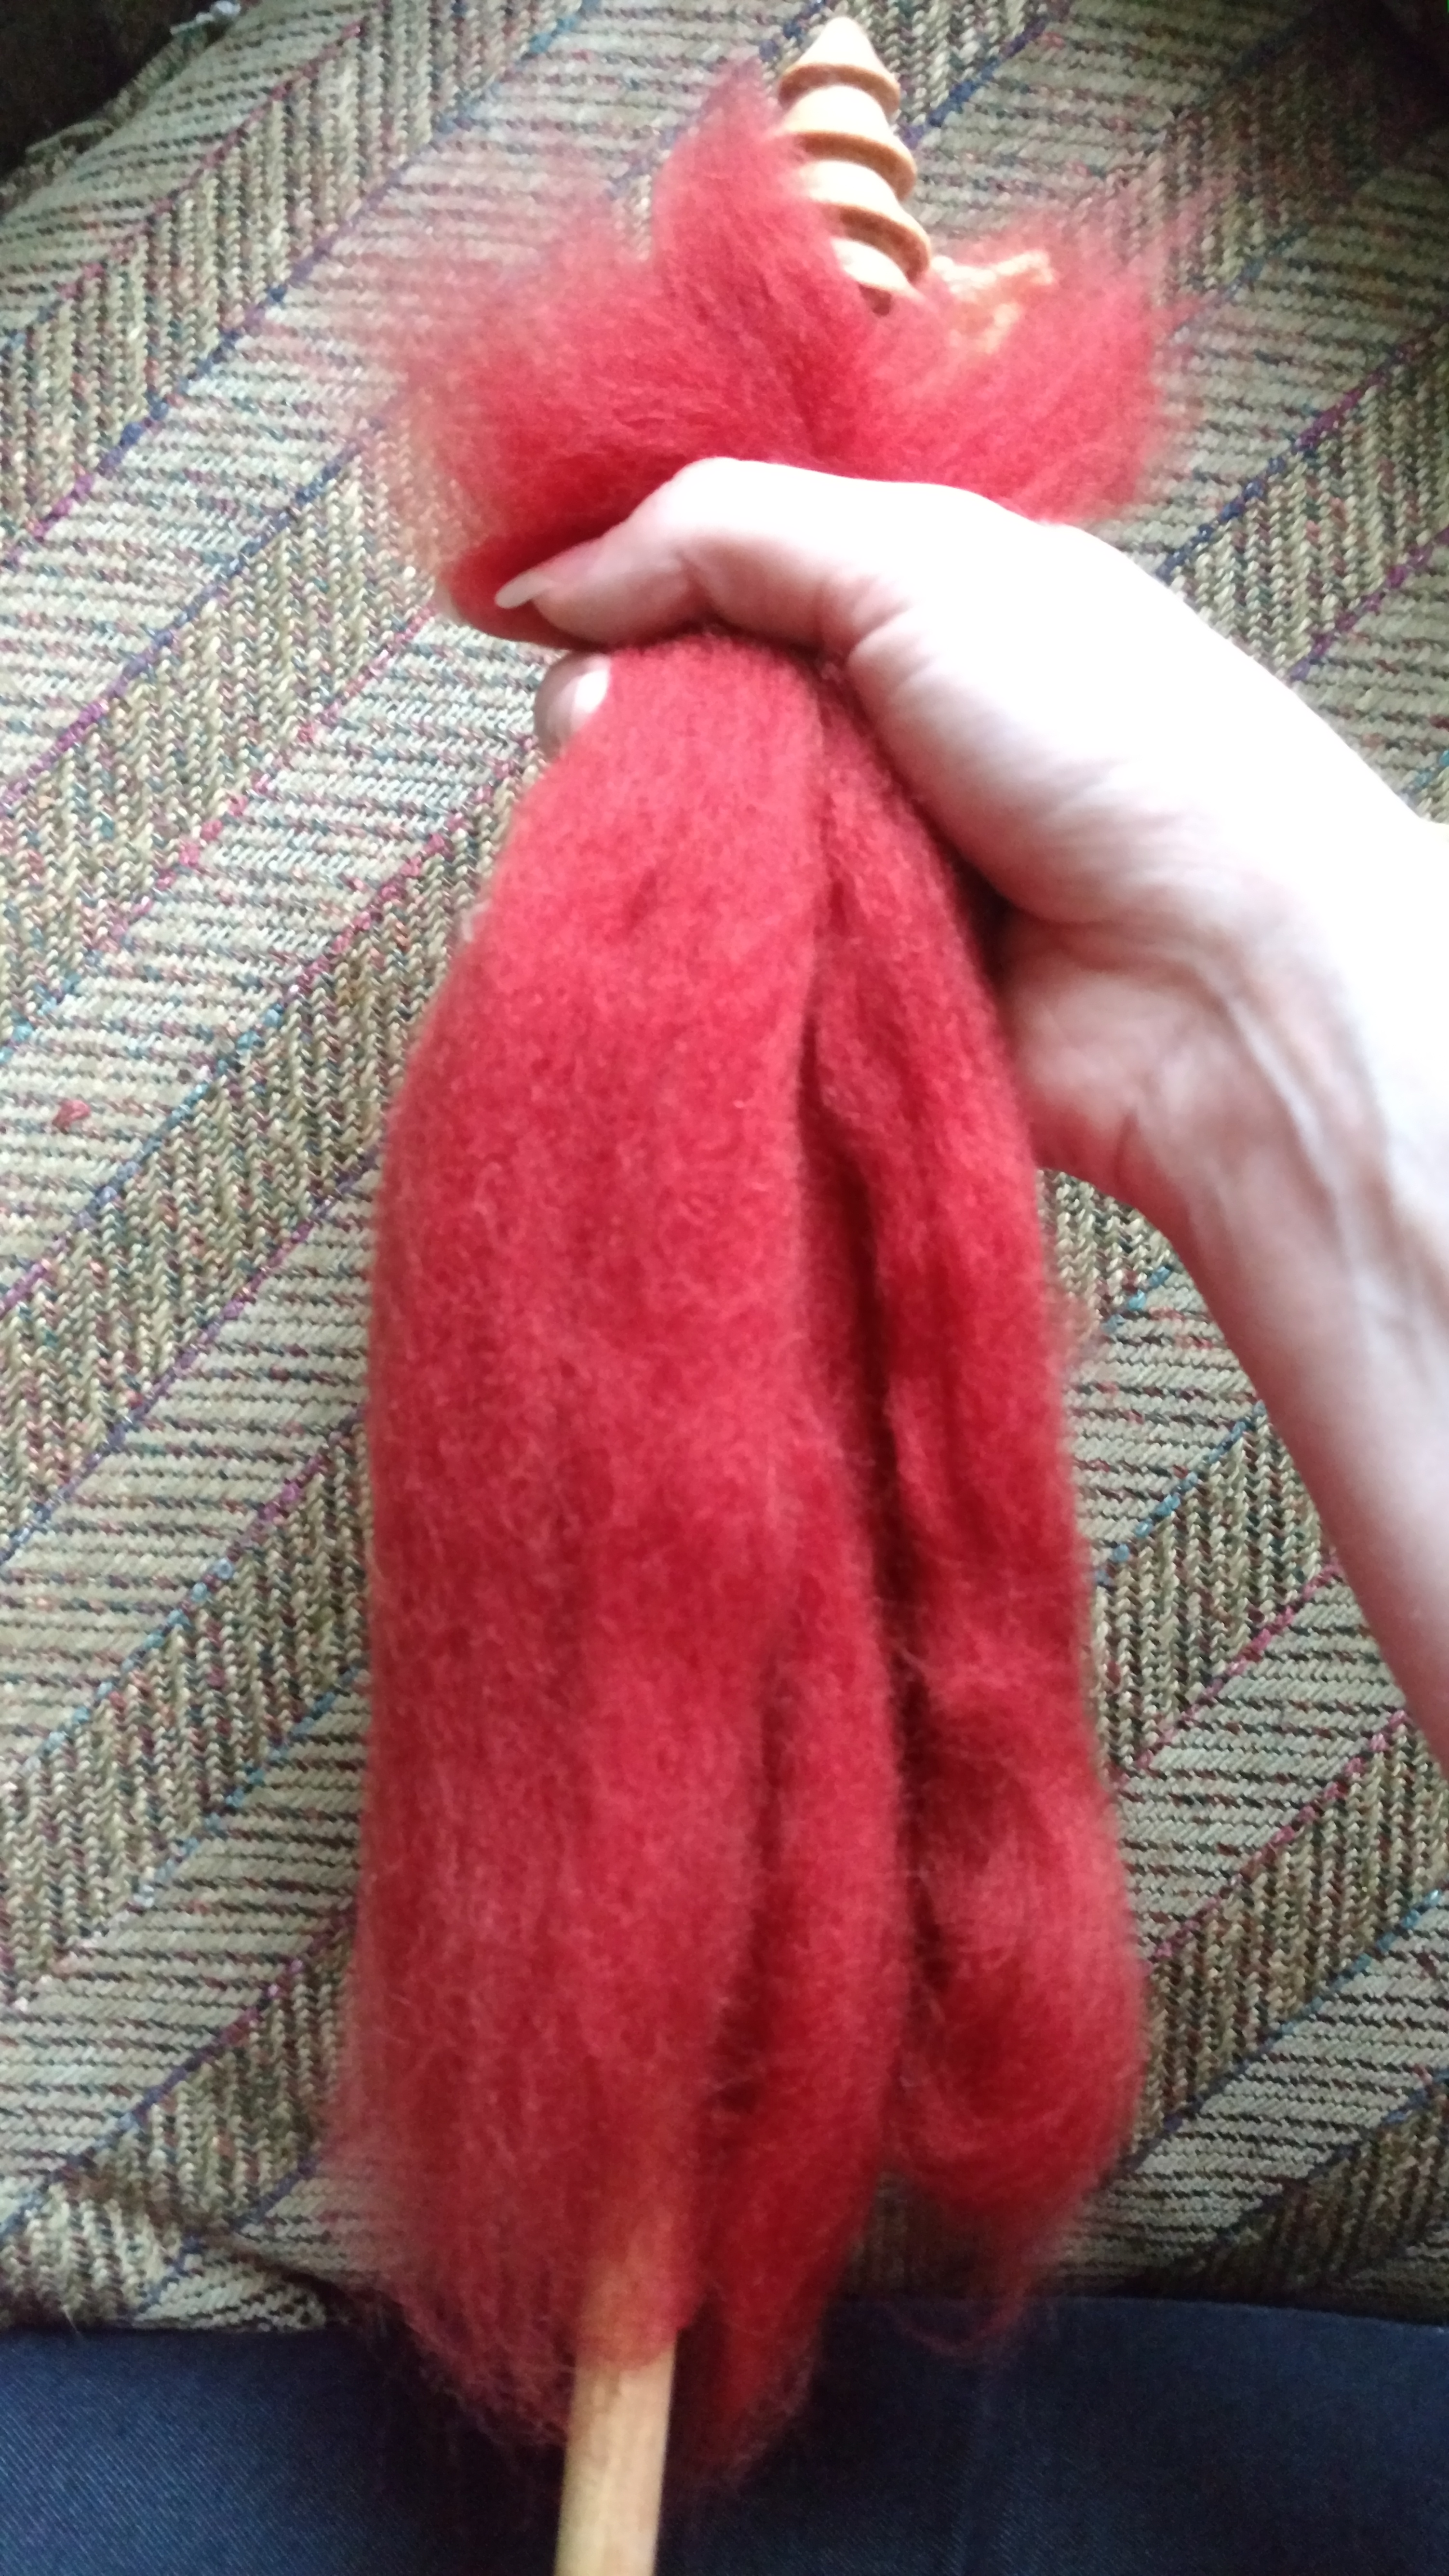
With the other hand, loop the braid over the top of the finial and start wrapping downward over the fiber.
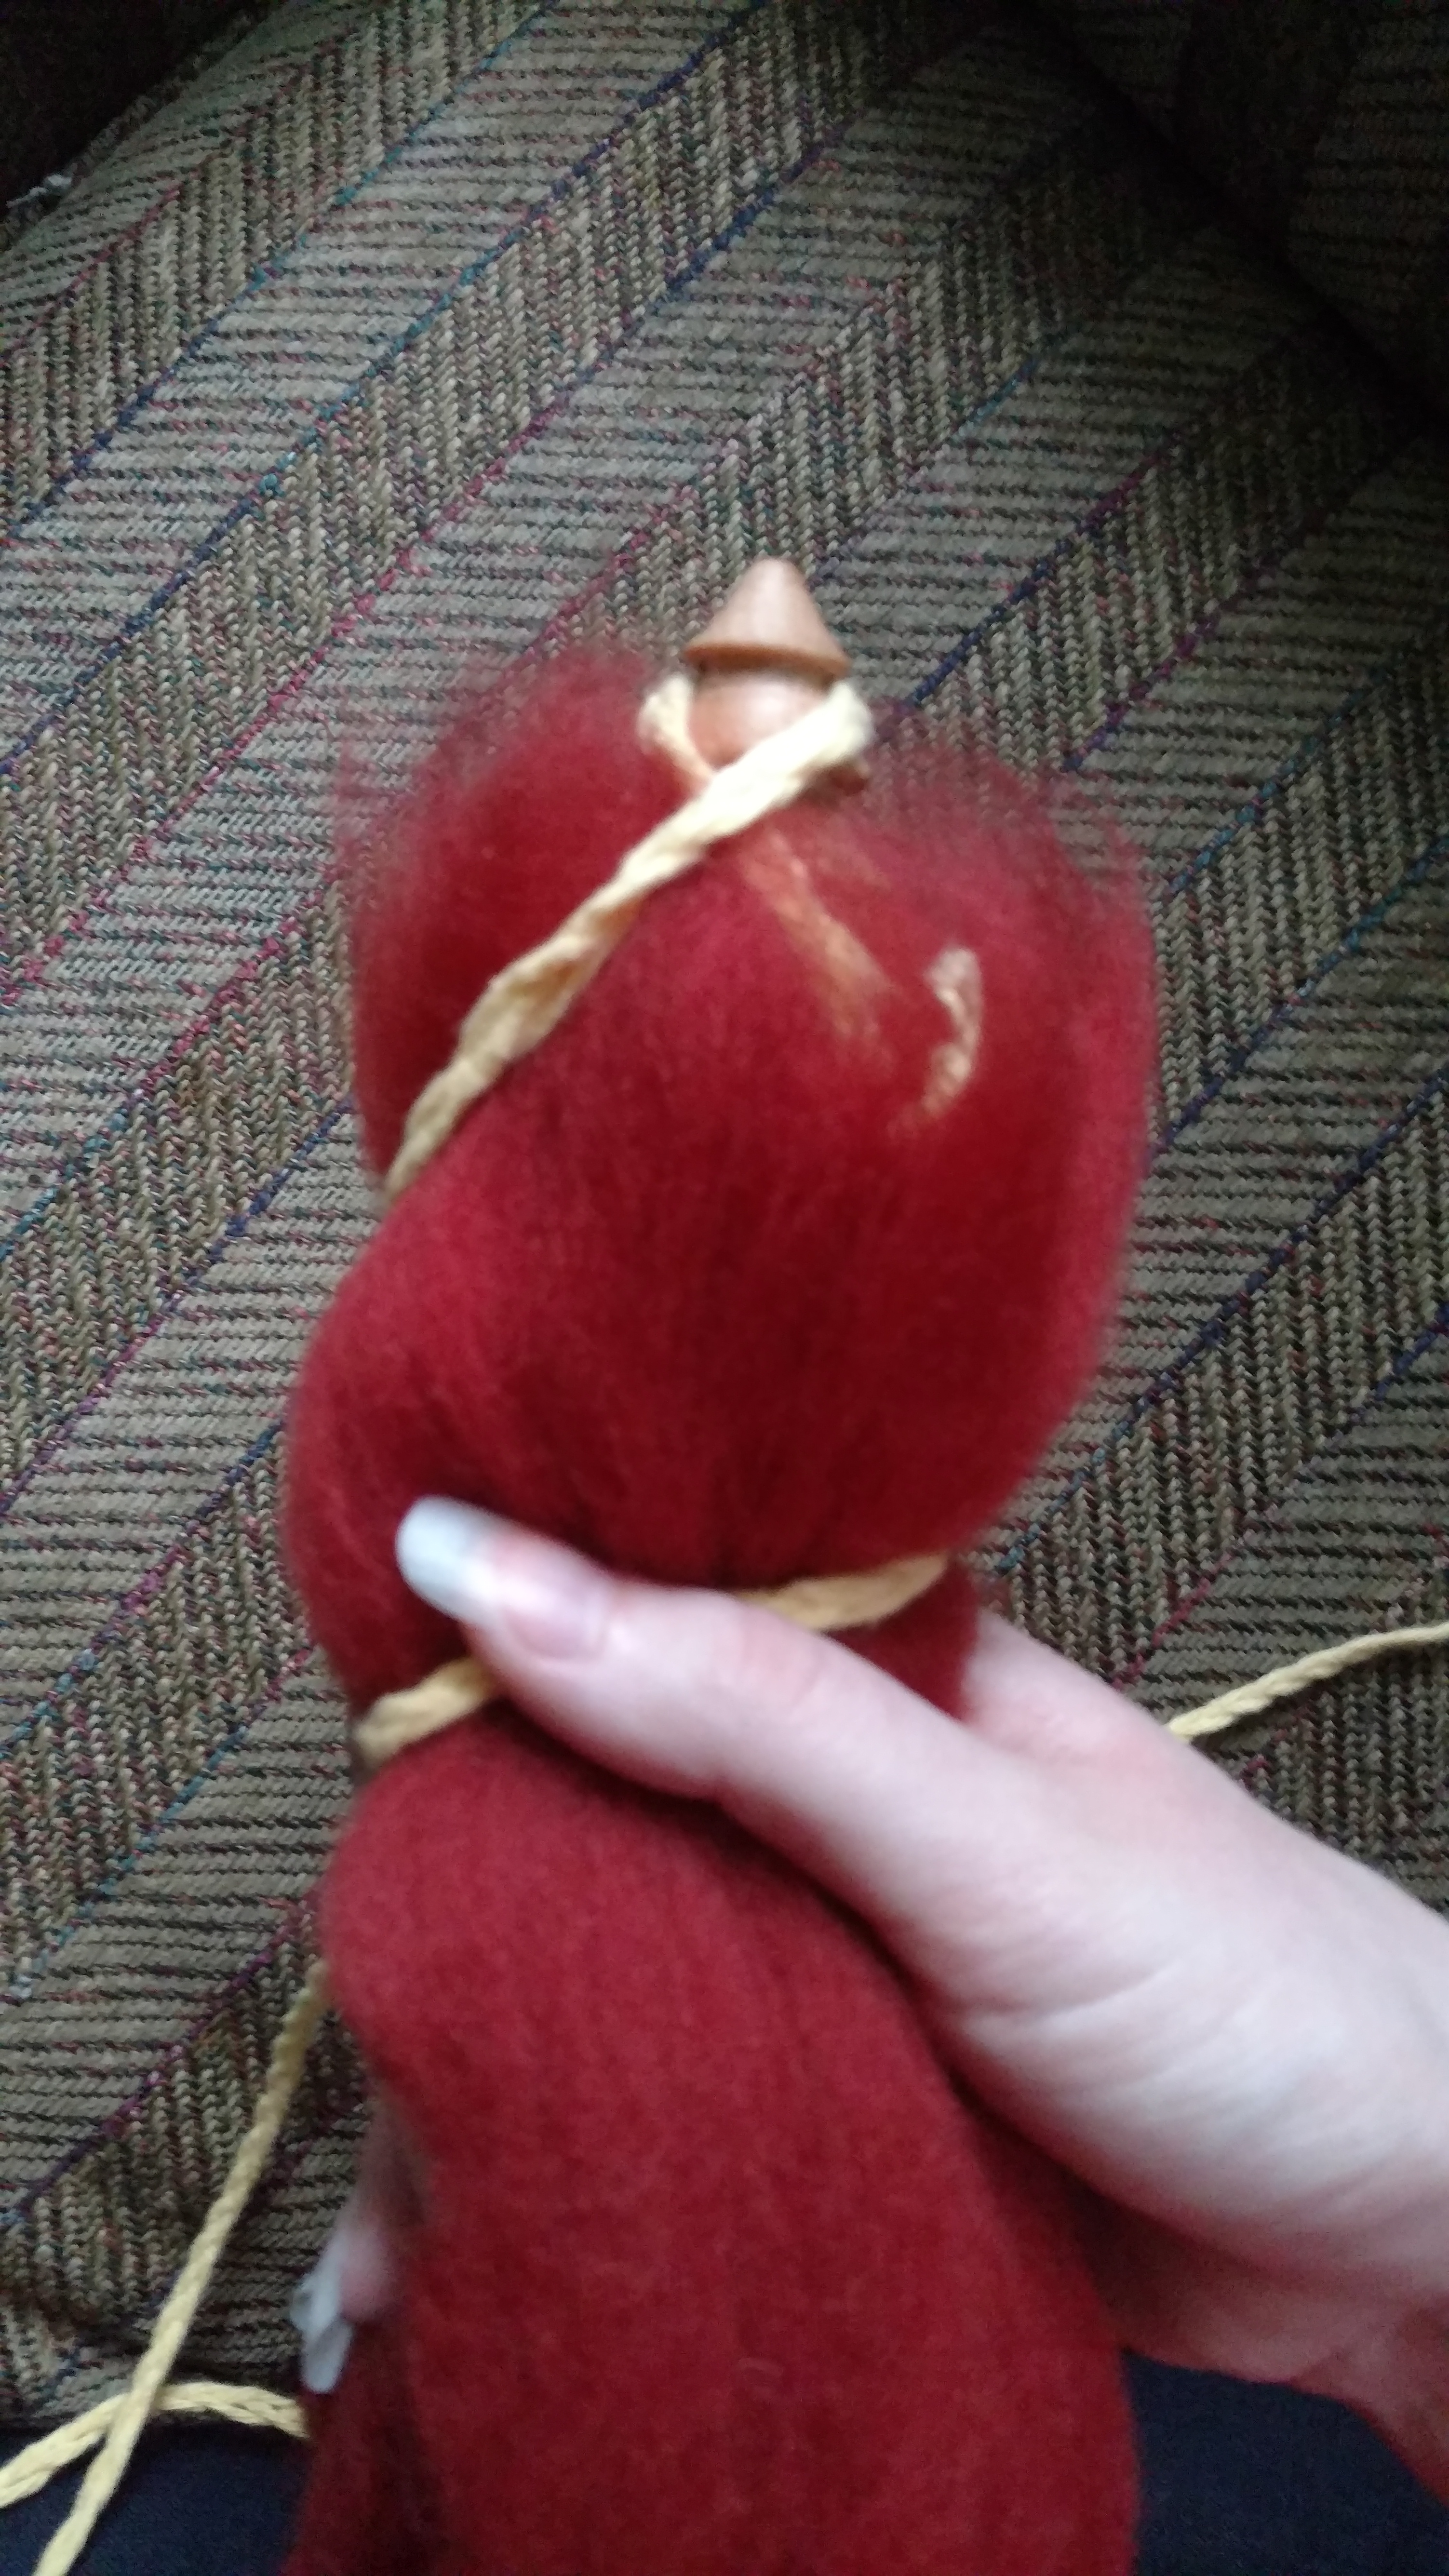
Wrap downwards in a spiral until you are close* to the bottom of the fiber sections. Then spiral back upwards.
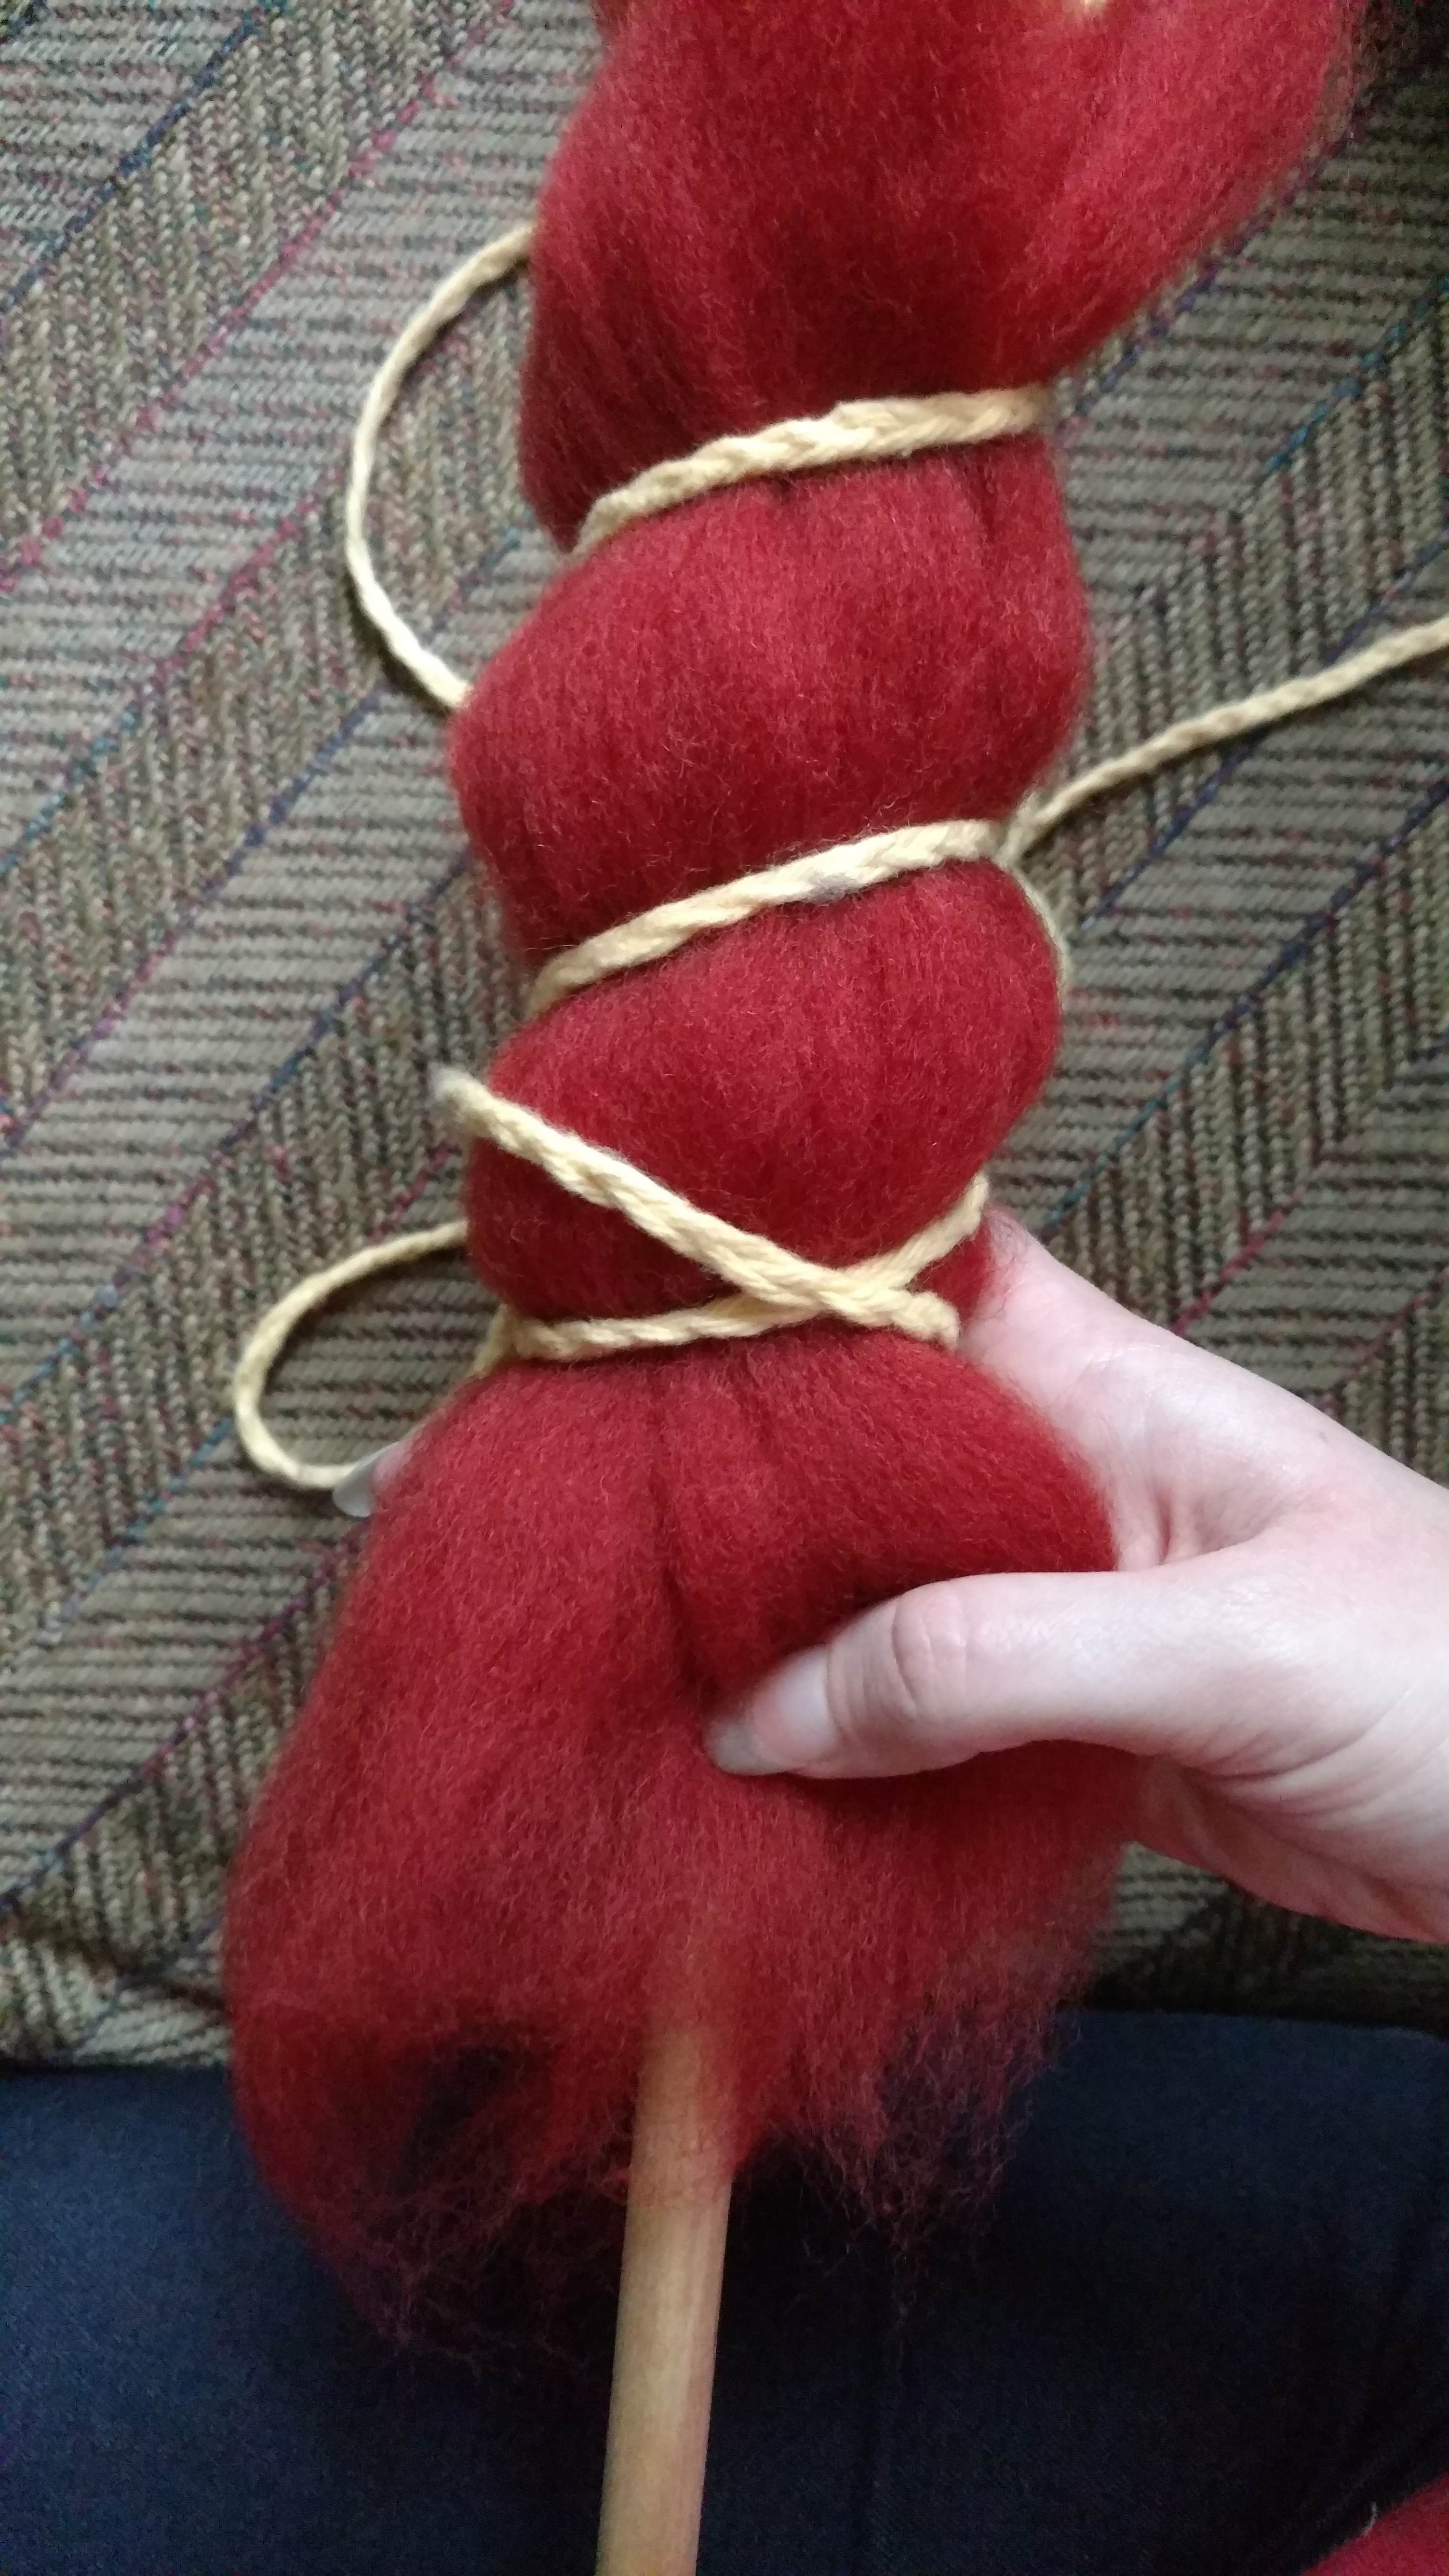
*close - just under your fiber's staple length. The braid should catch the uppermost ends of the bottom fibers.
When you reach the top, make a loop with the braid and secure it over the finial in a half-hitch.
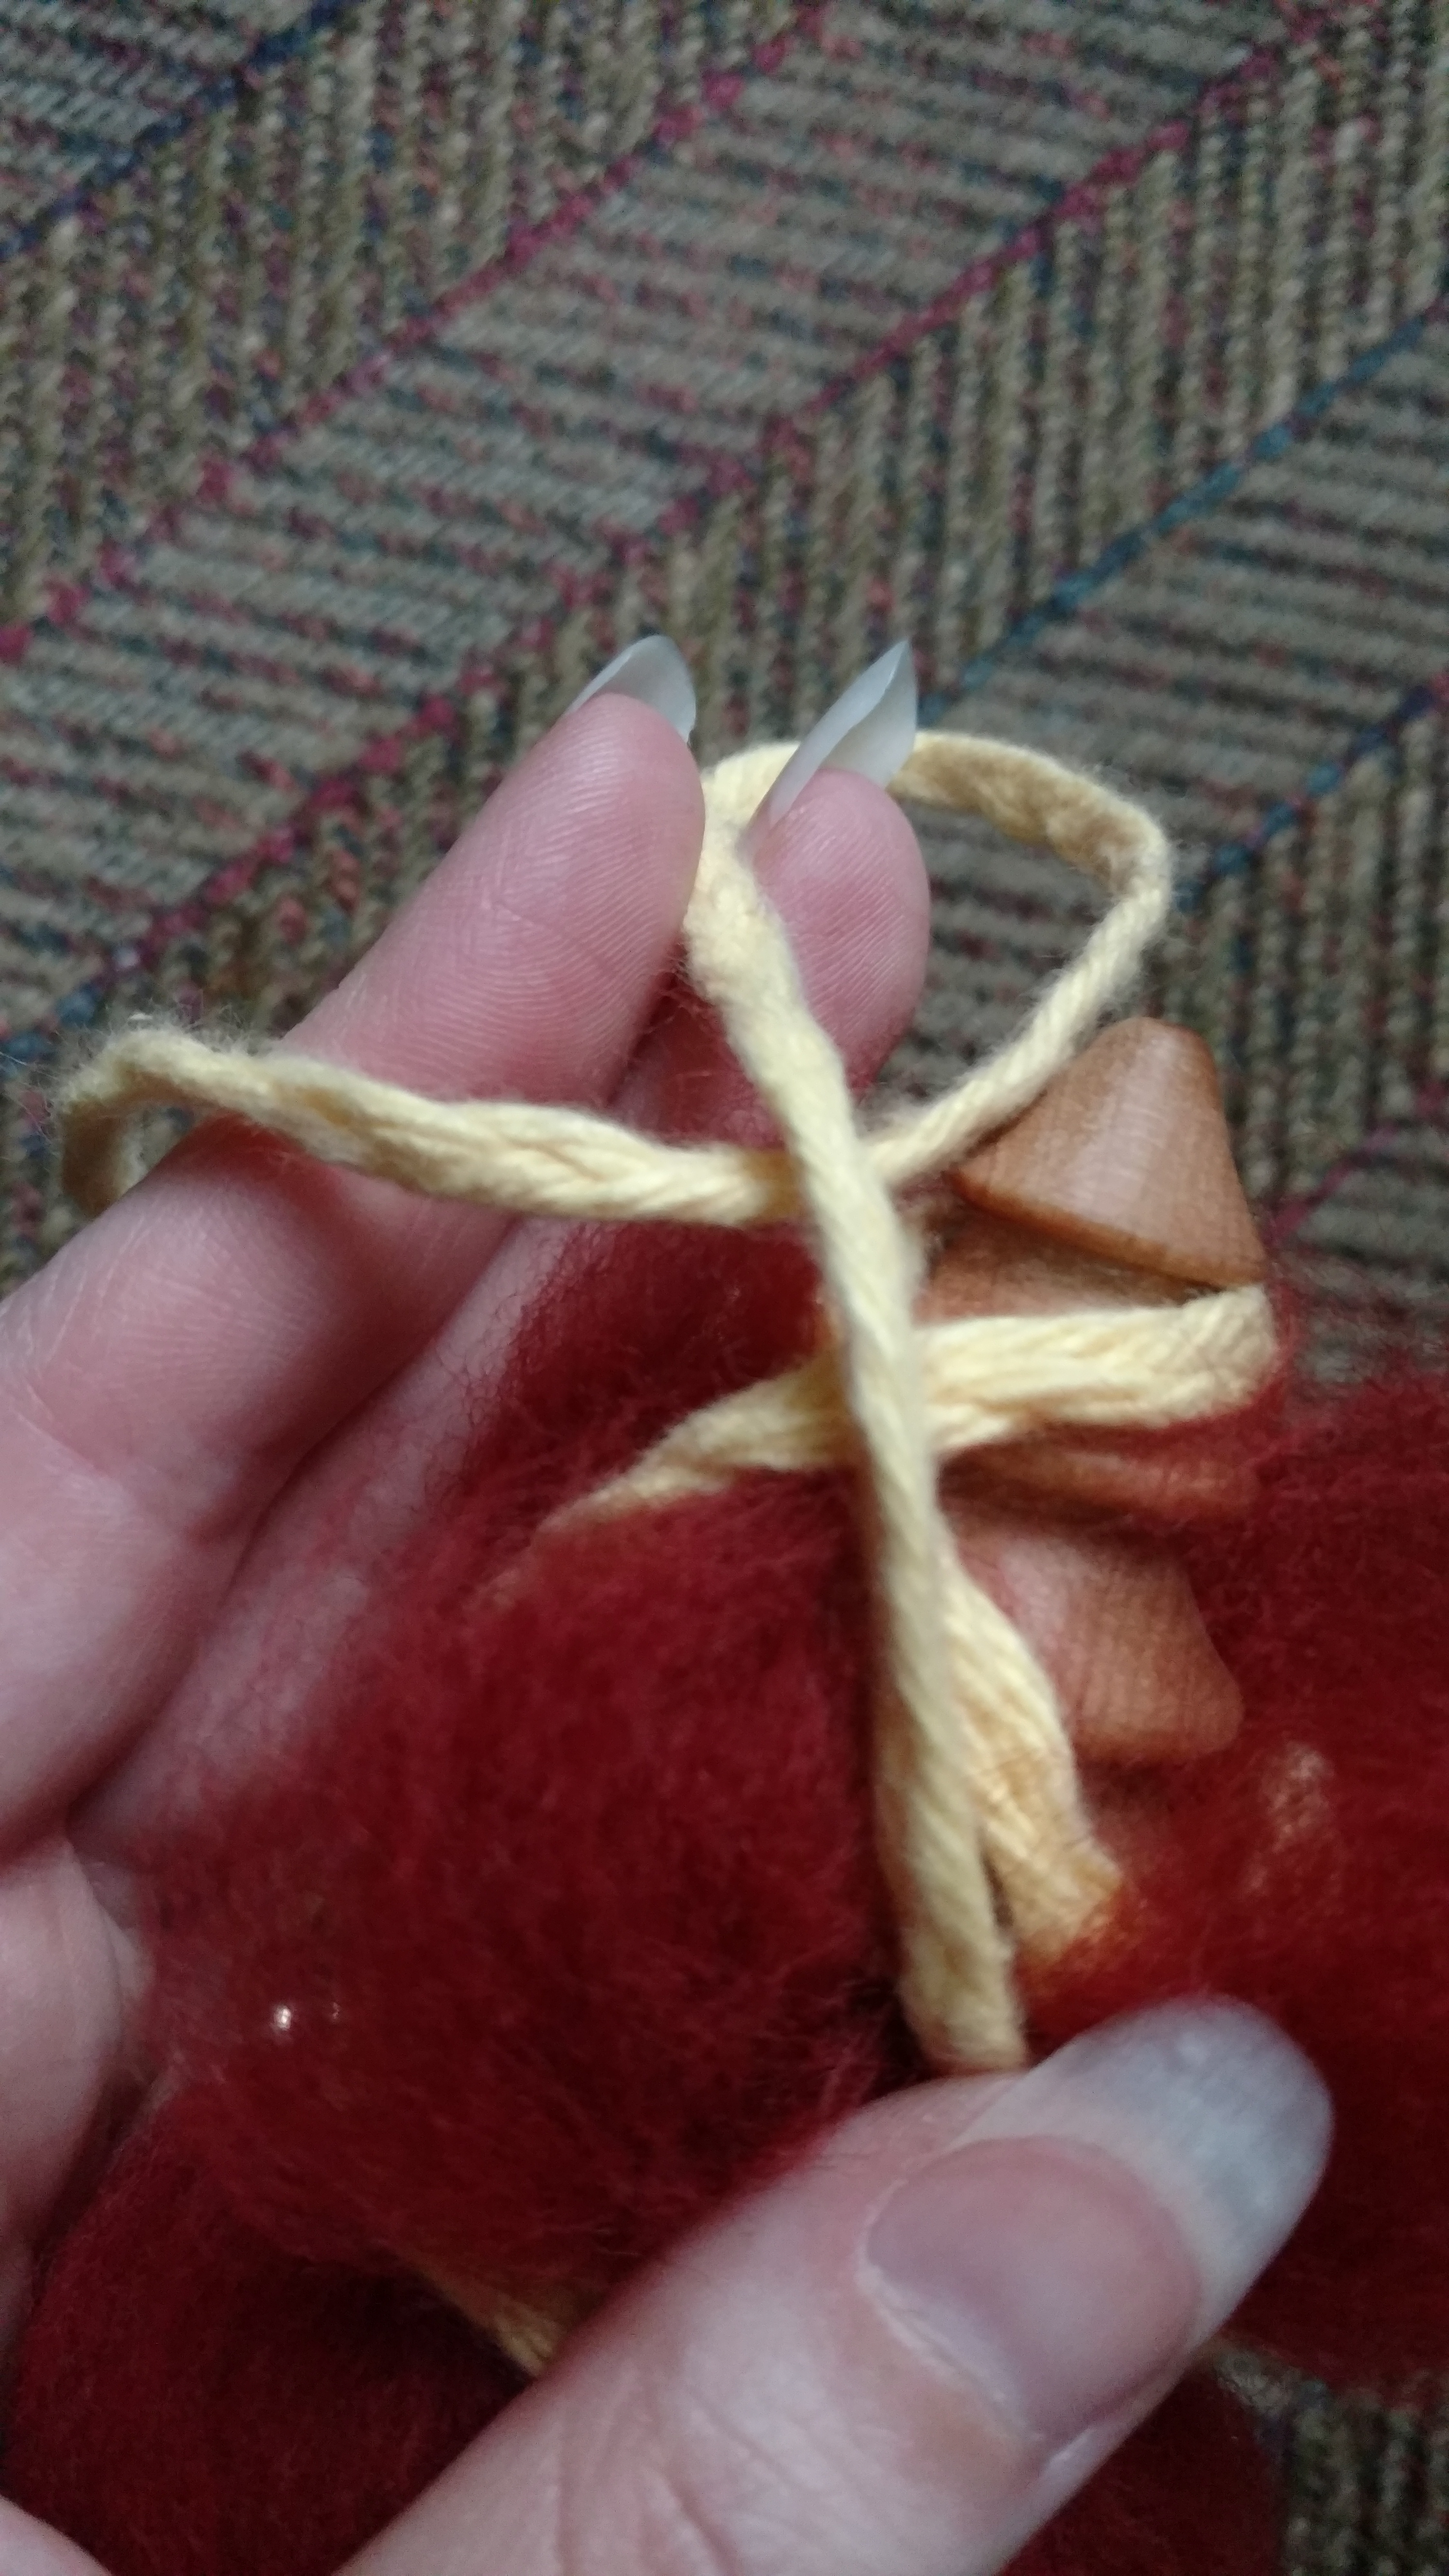
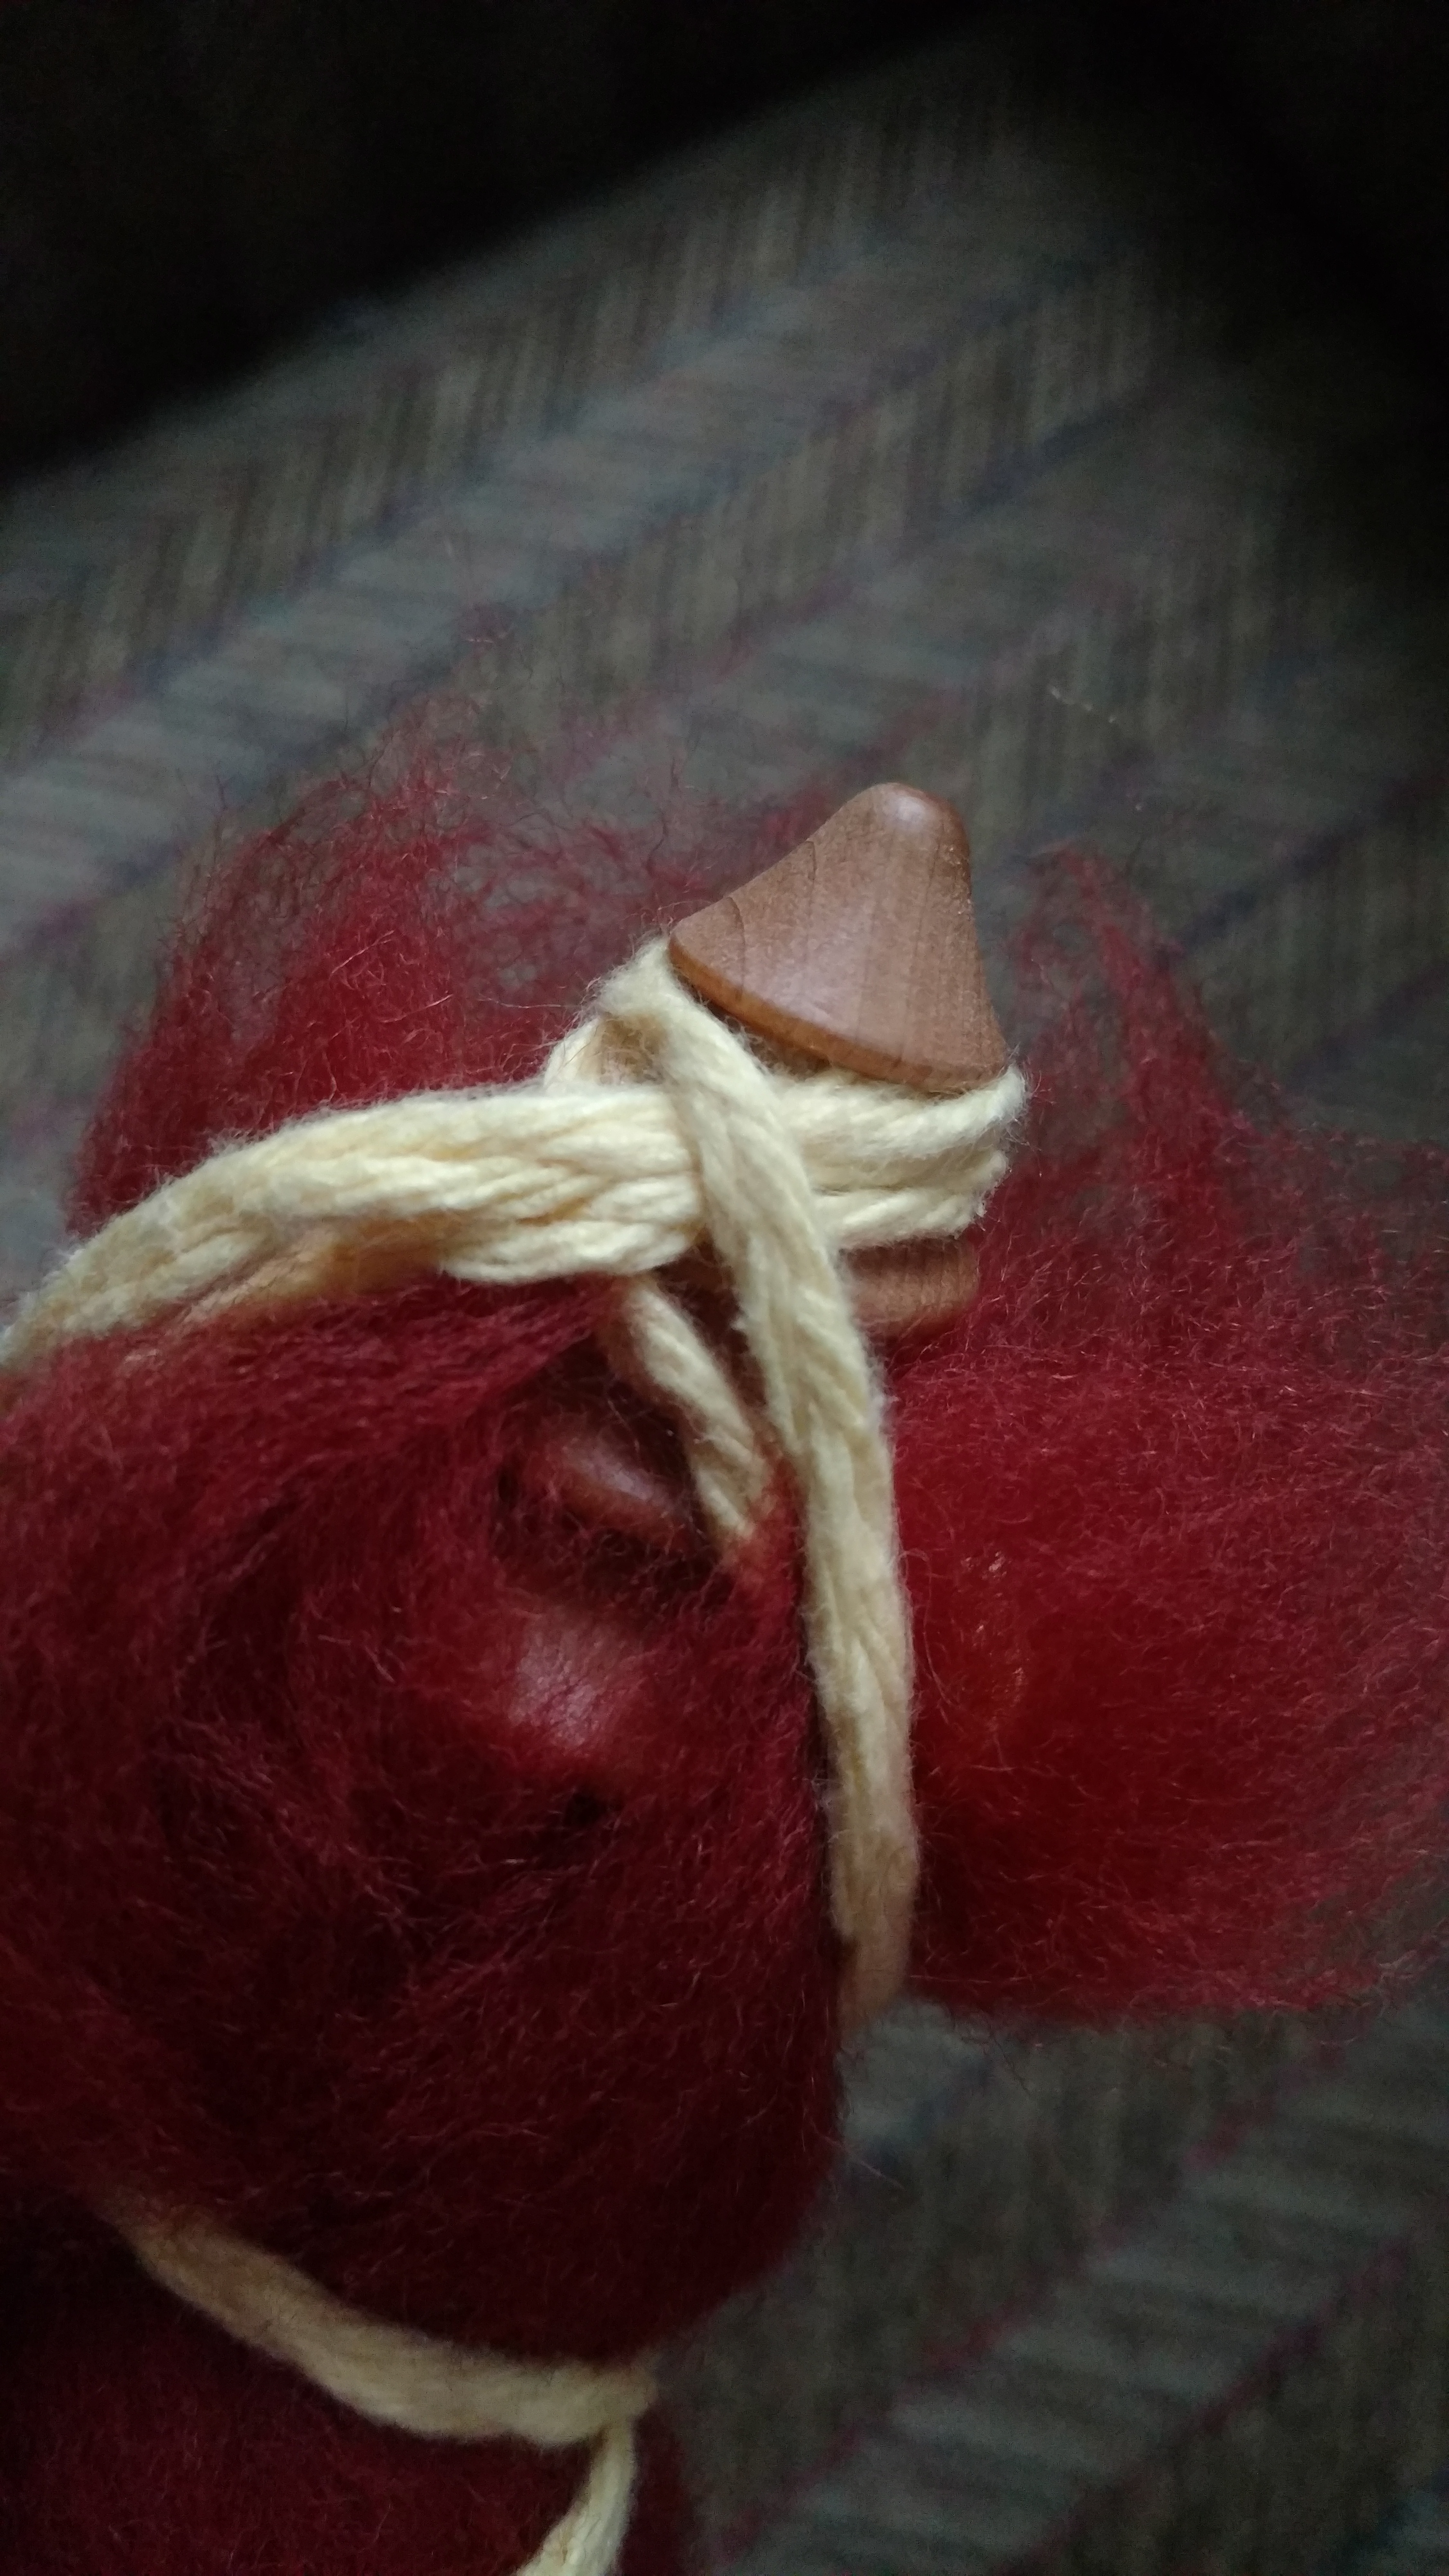
You are ready to start spinning!
You will have extra braid length. This is correct. The extra length can be looped around the fiber supply while spinning (it stays in place remarkably well) and used to bind the spindle to the side of the distaff while not in use.
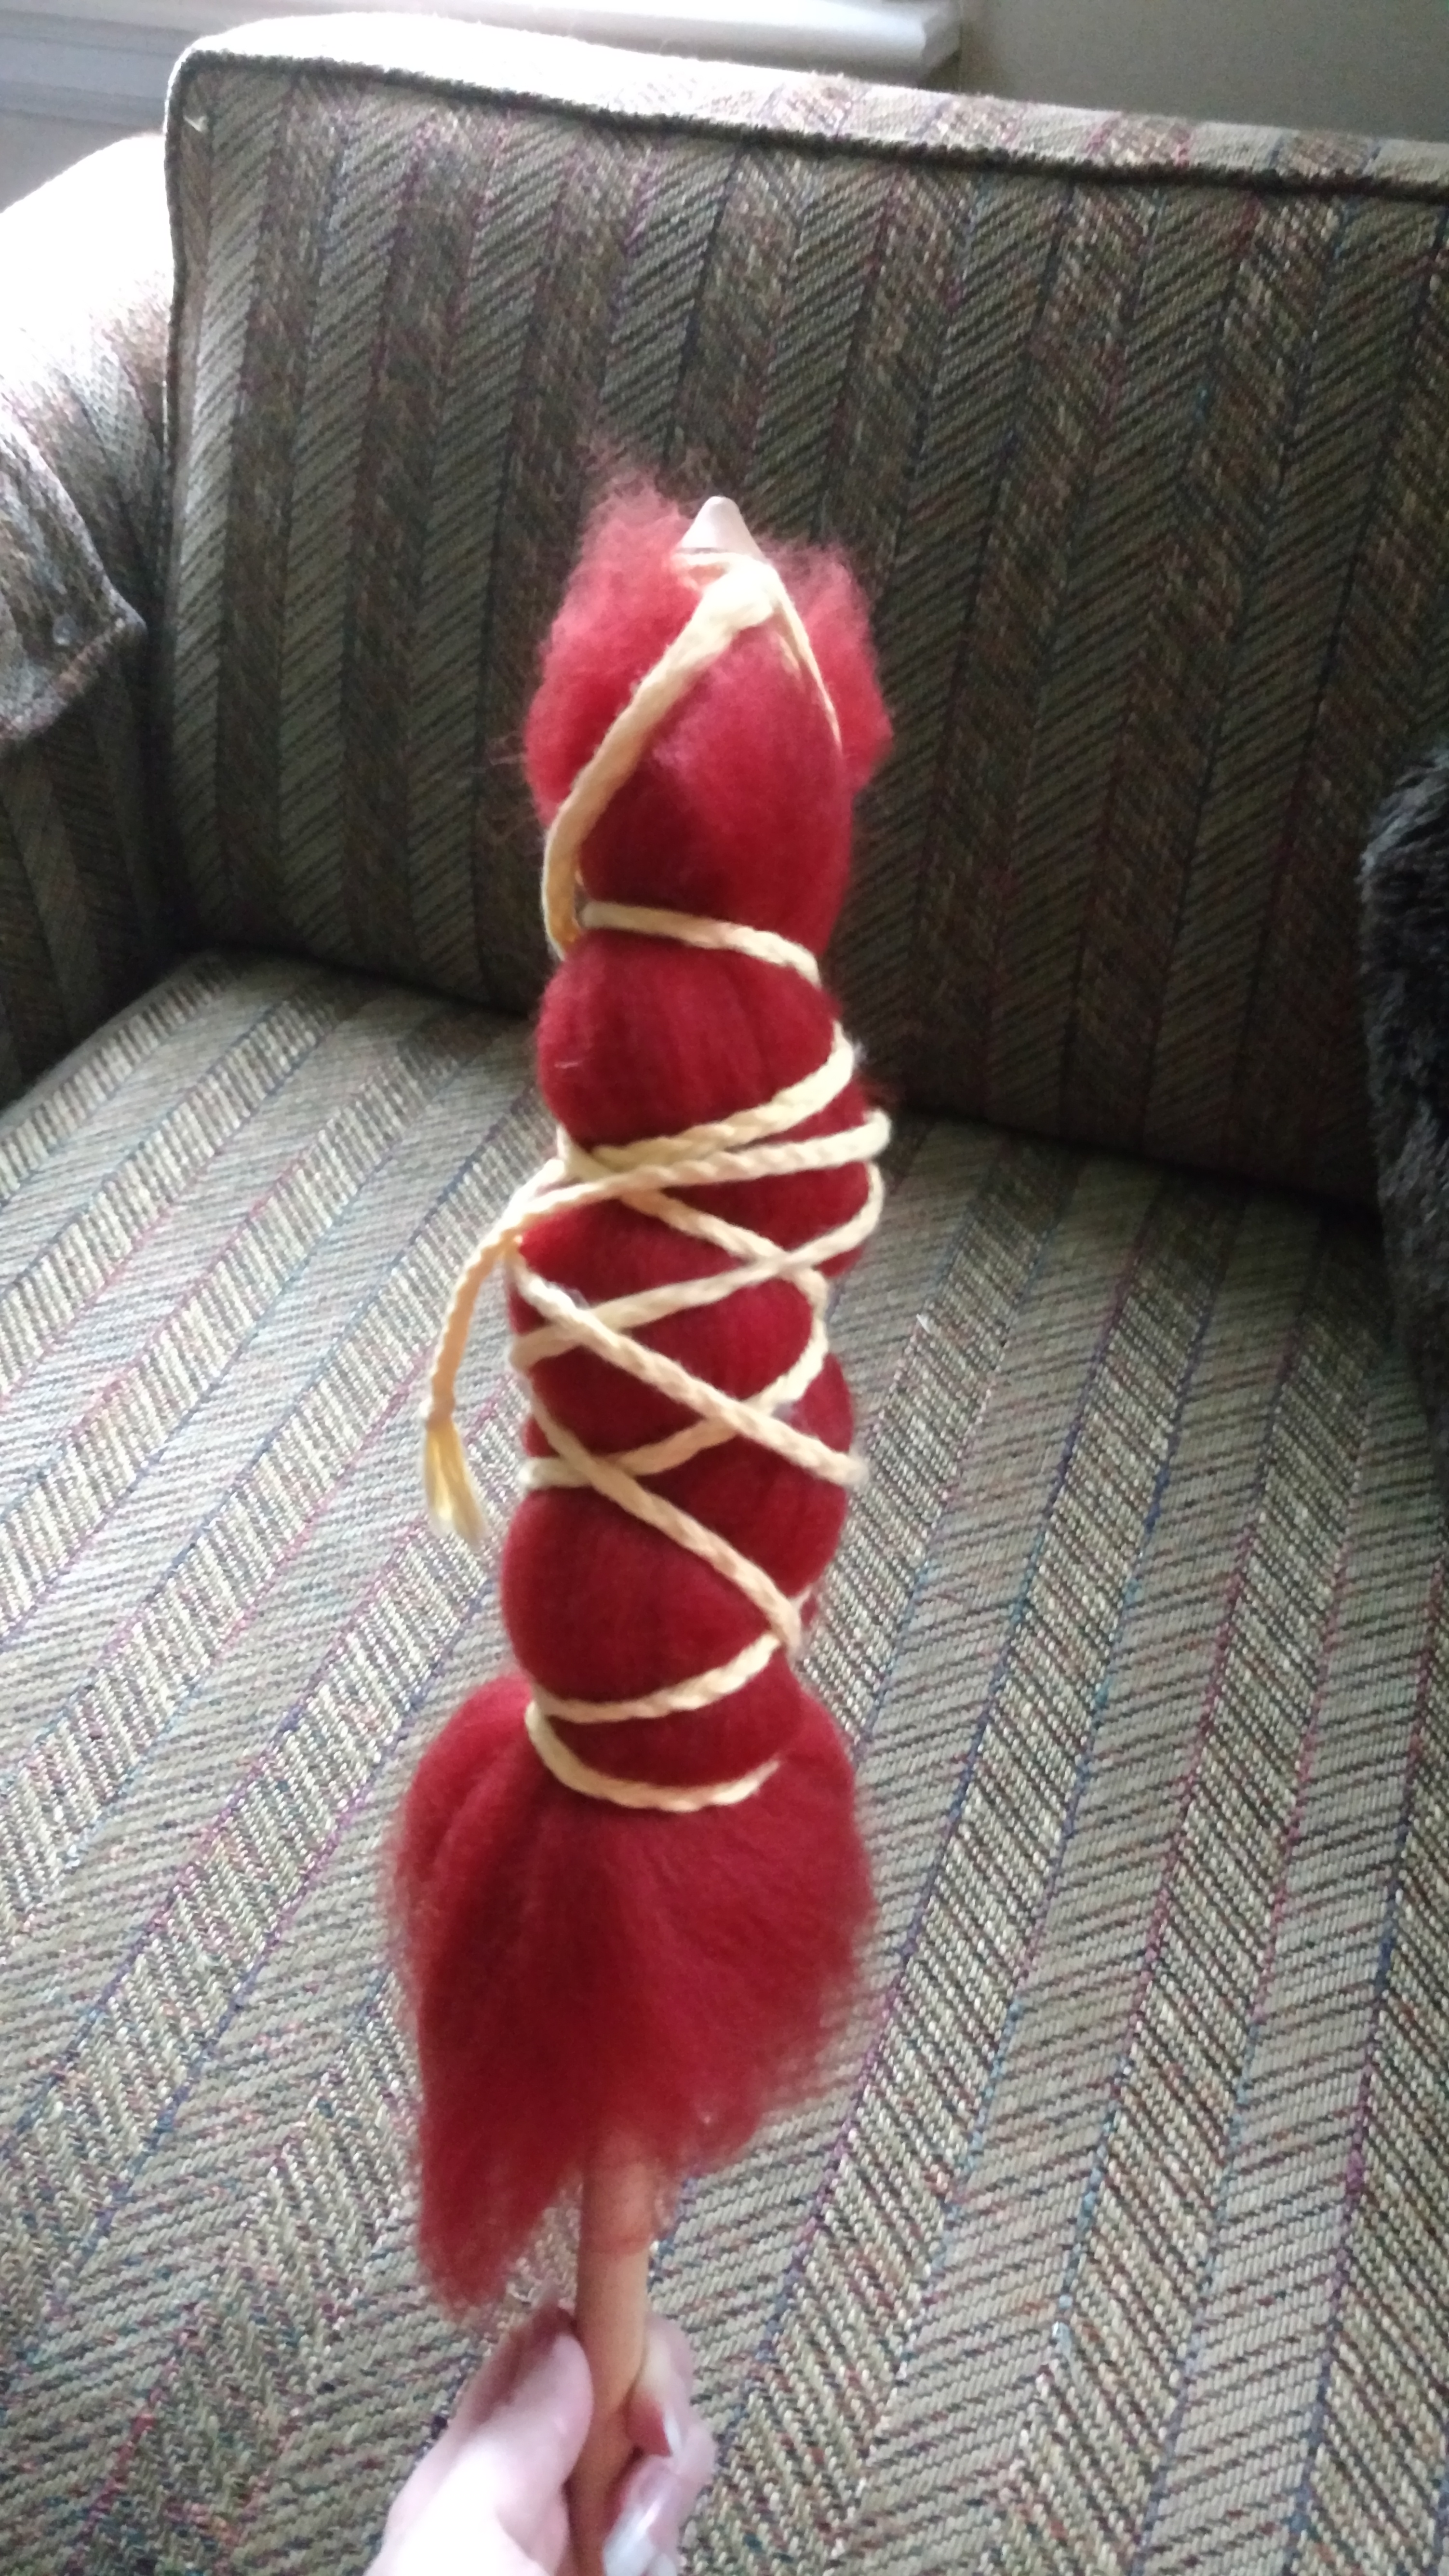
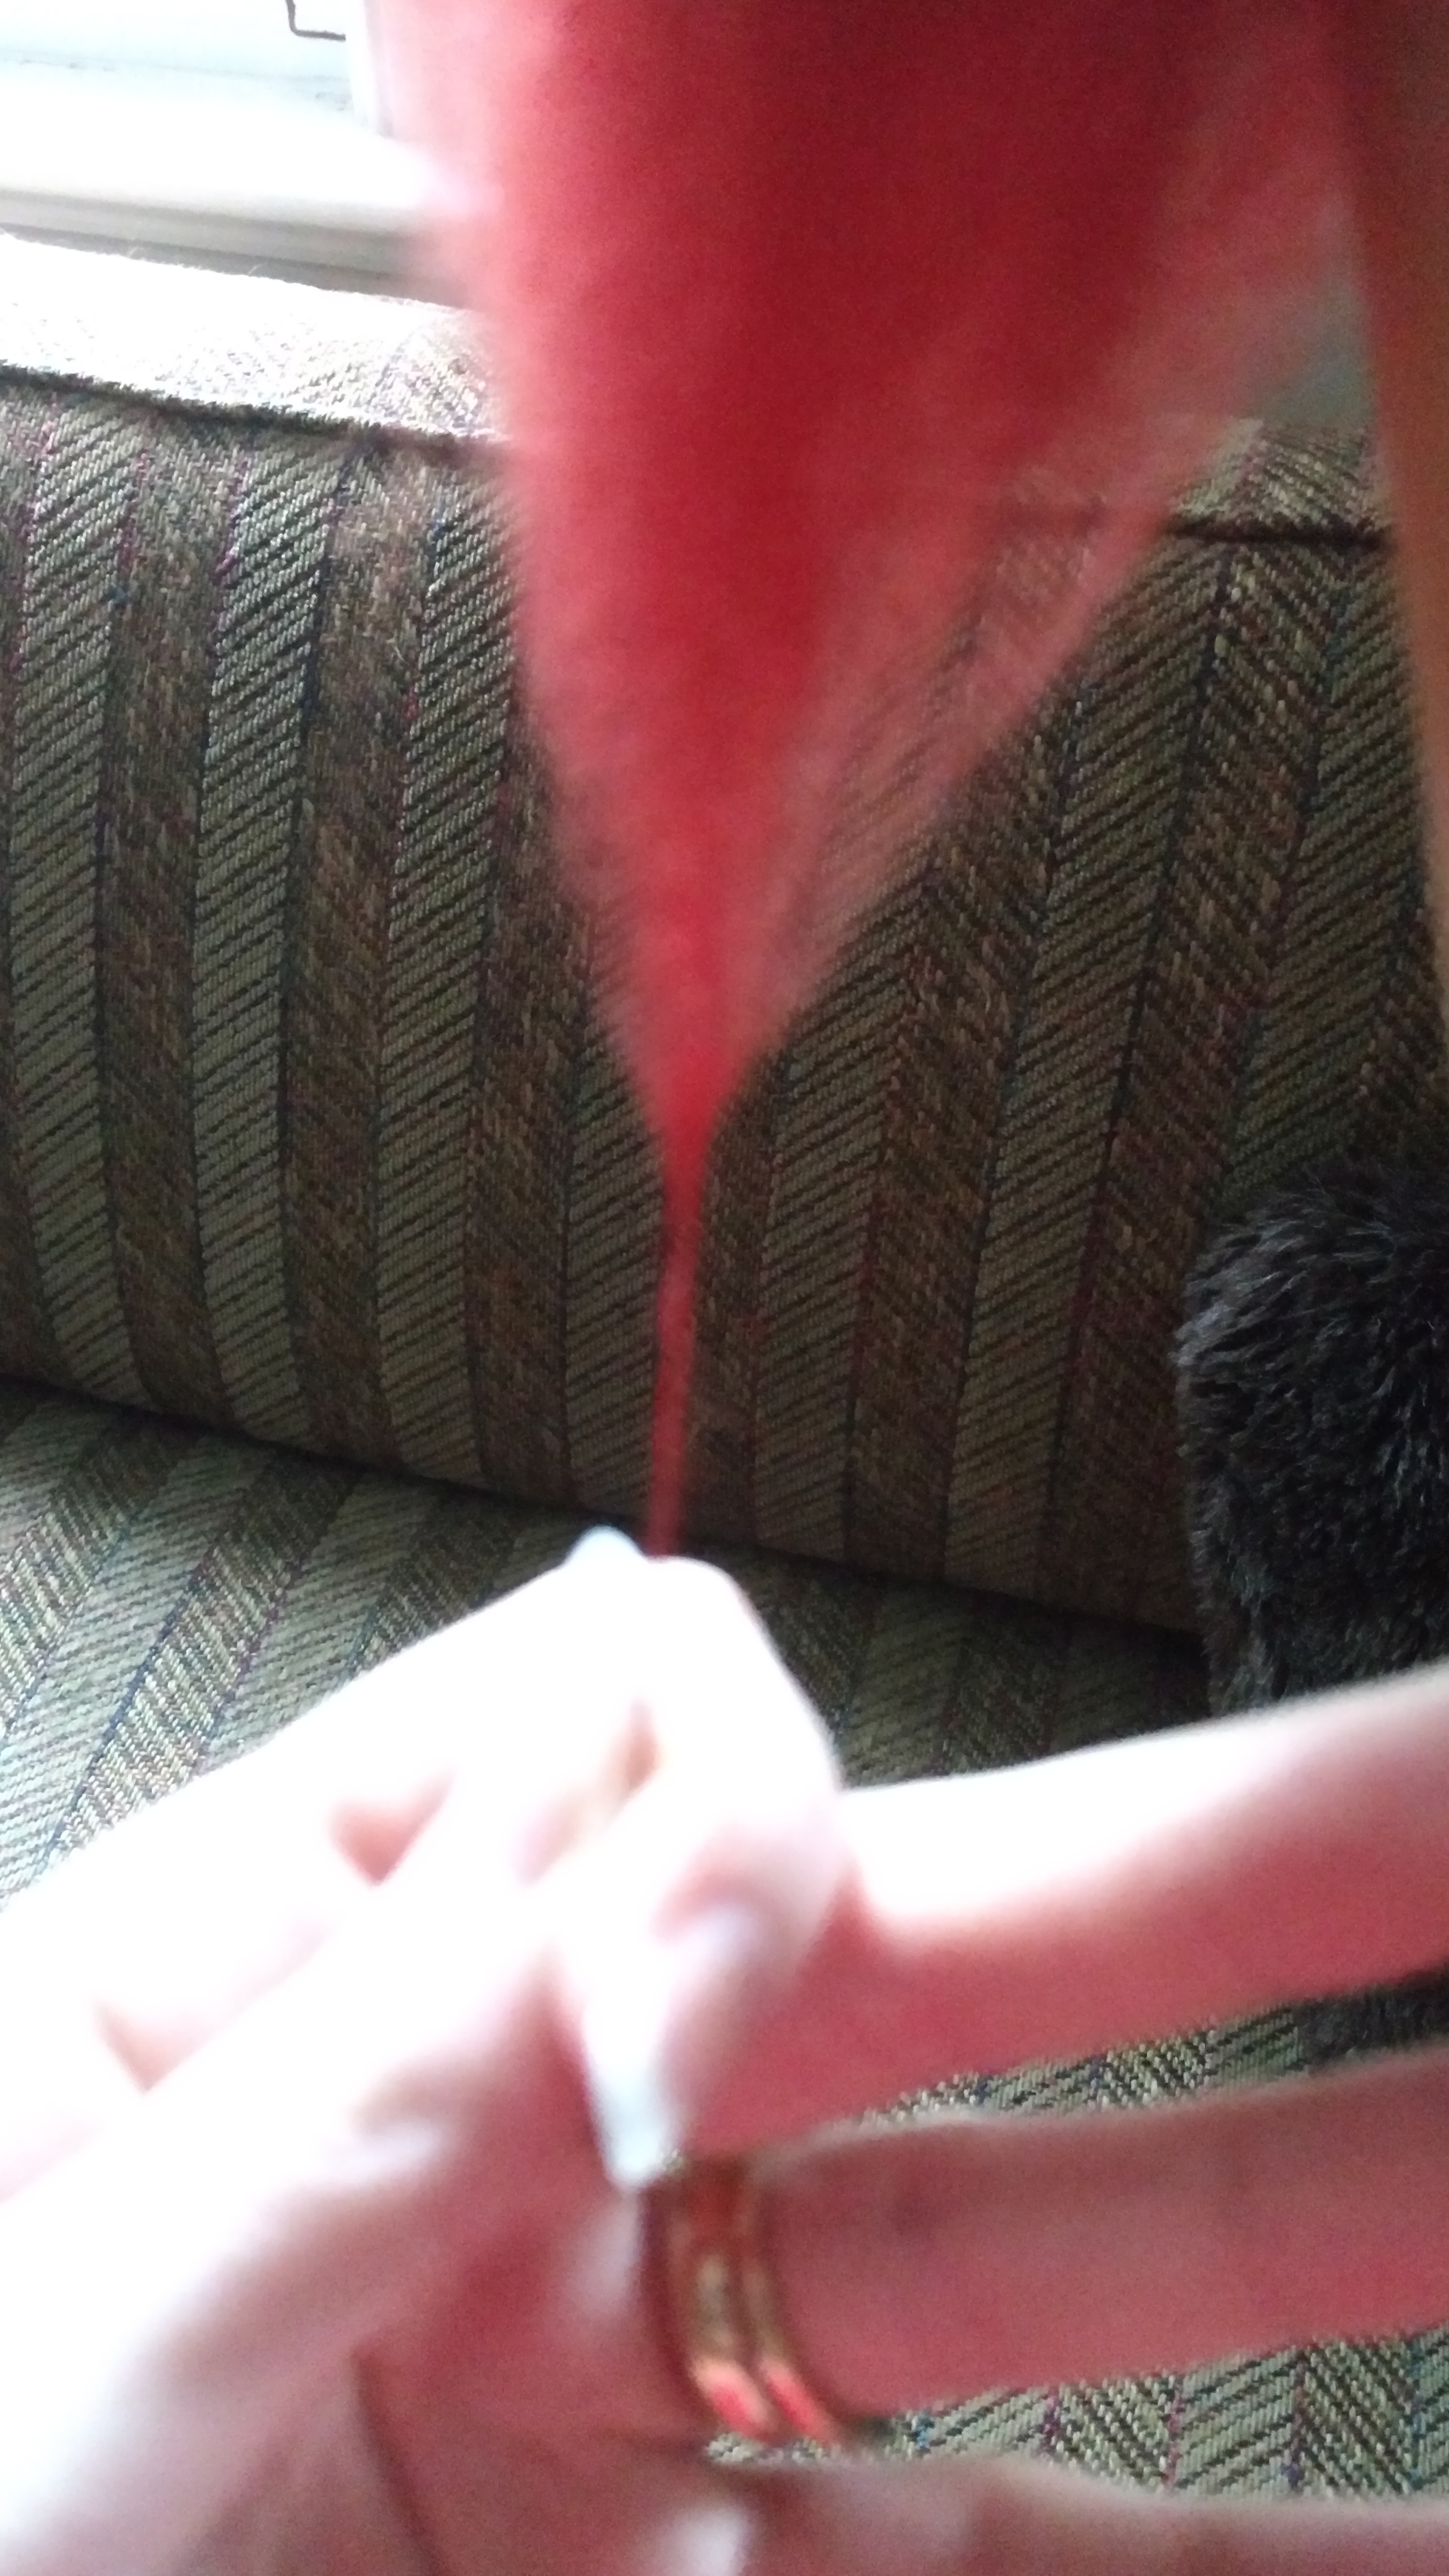
To start spinning, tease out a few fibers from the bottom of the bundle.
Twist the fibers between your fingers to form a leader yarn. When it is long enough, attach the leader to your spindle.
As you spin, fiber will be removed from the distaff and you will need to re-wrap the braid to keep the remaining fiber secure. Grip the spindle shaft and distaff in one hand (just below the fiber supply) and use your other hand to unwrap and re-wrap the braid.
Enjoy!
- Written by Super User
Welcome!
Here you will find my various articles and tutorials related to fiber arts and research.

